Rate Tutorial
Hi! In this tutorial, I’m going to be teaching you how to make a 3-D butterfly bracelet. The pattern is #167858 by @goldflower. A simple instruction is written in the comments section of the pattern, but I made this tutorial to explain it in more depth.
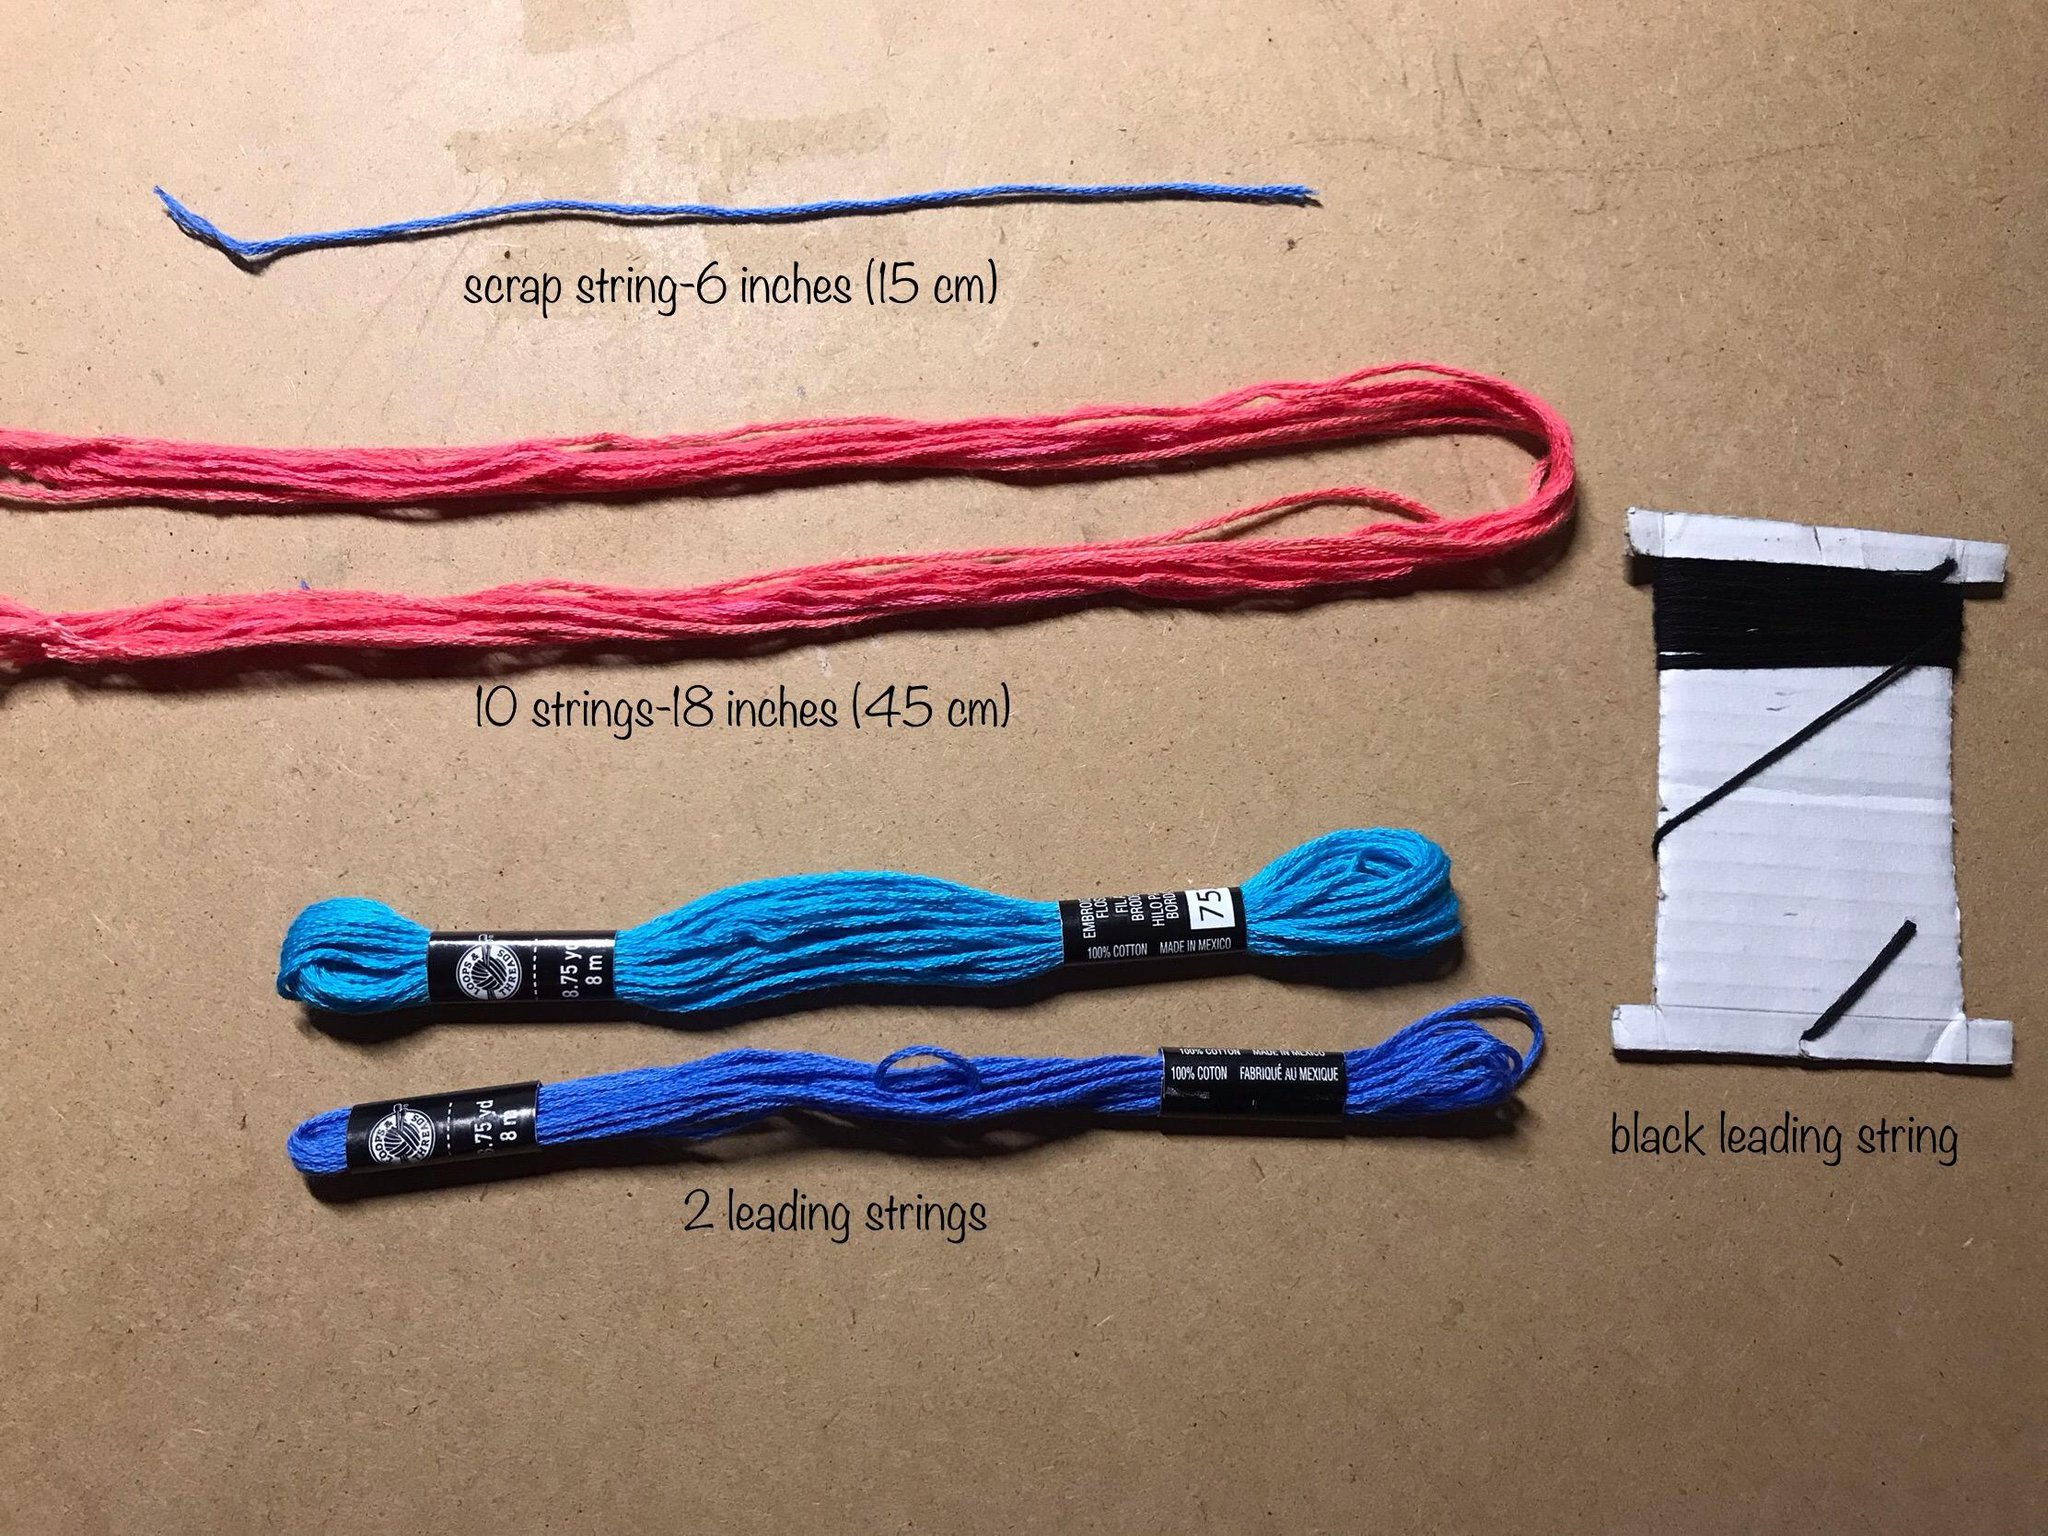
What you’ll need
- scrap string - about 6 inches (15 cm), can be any color since it won’t be in the final result
- 10 strings - 18 inches (45 cm), whatever color you want your bracelet to be
- black leading string
- 2 other leading strings-same color, different shades
- 10 strings - 18 inches (45 cm), whatever color you want your bracelet to be
- black leading string
- 2 other leading strings-same color, different shades

Step 1:
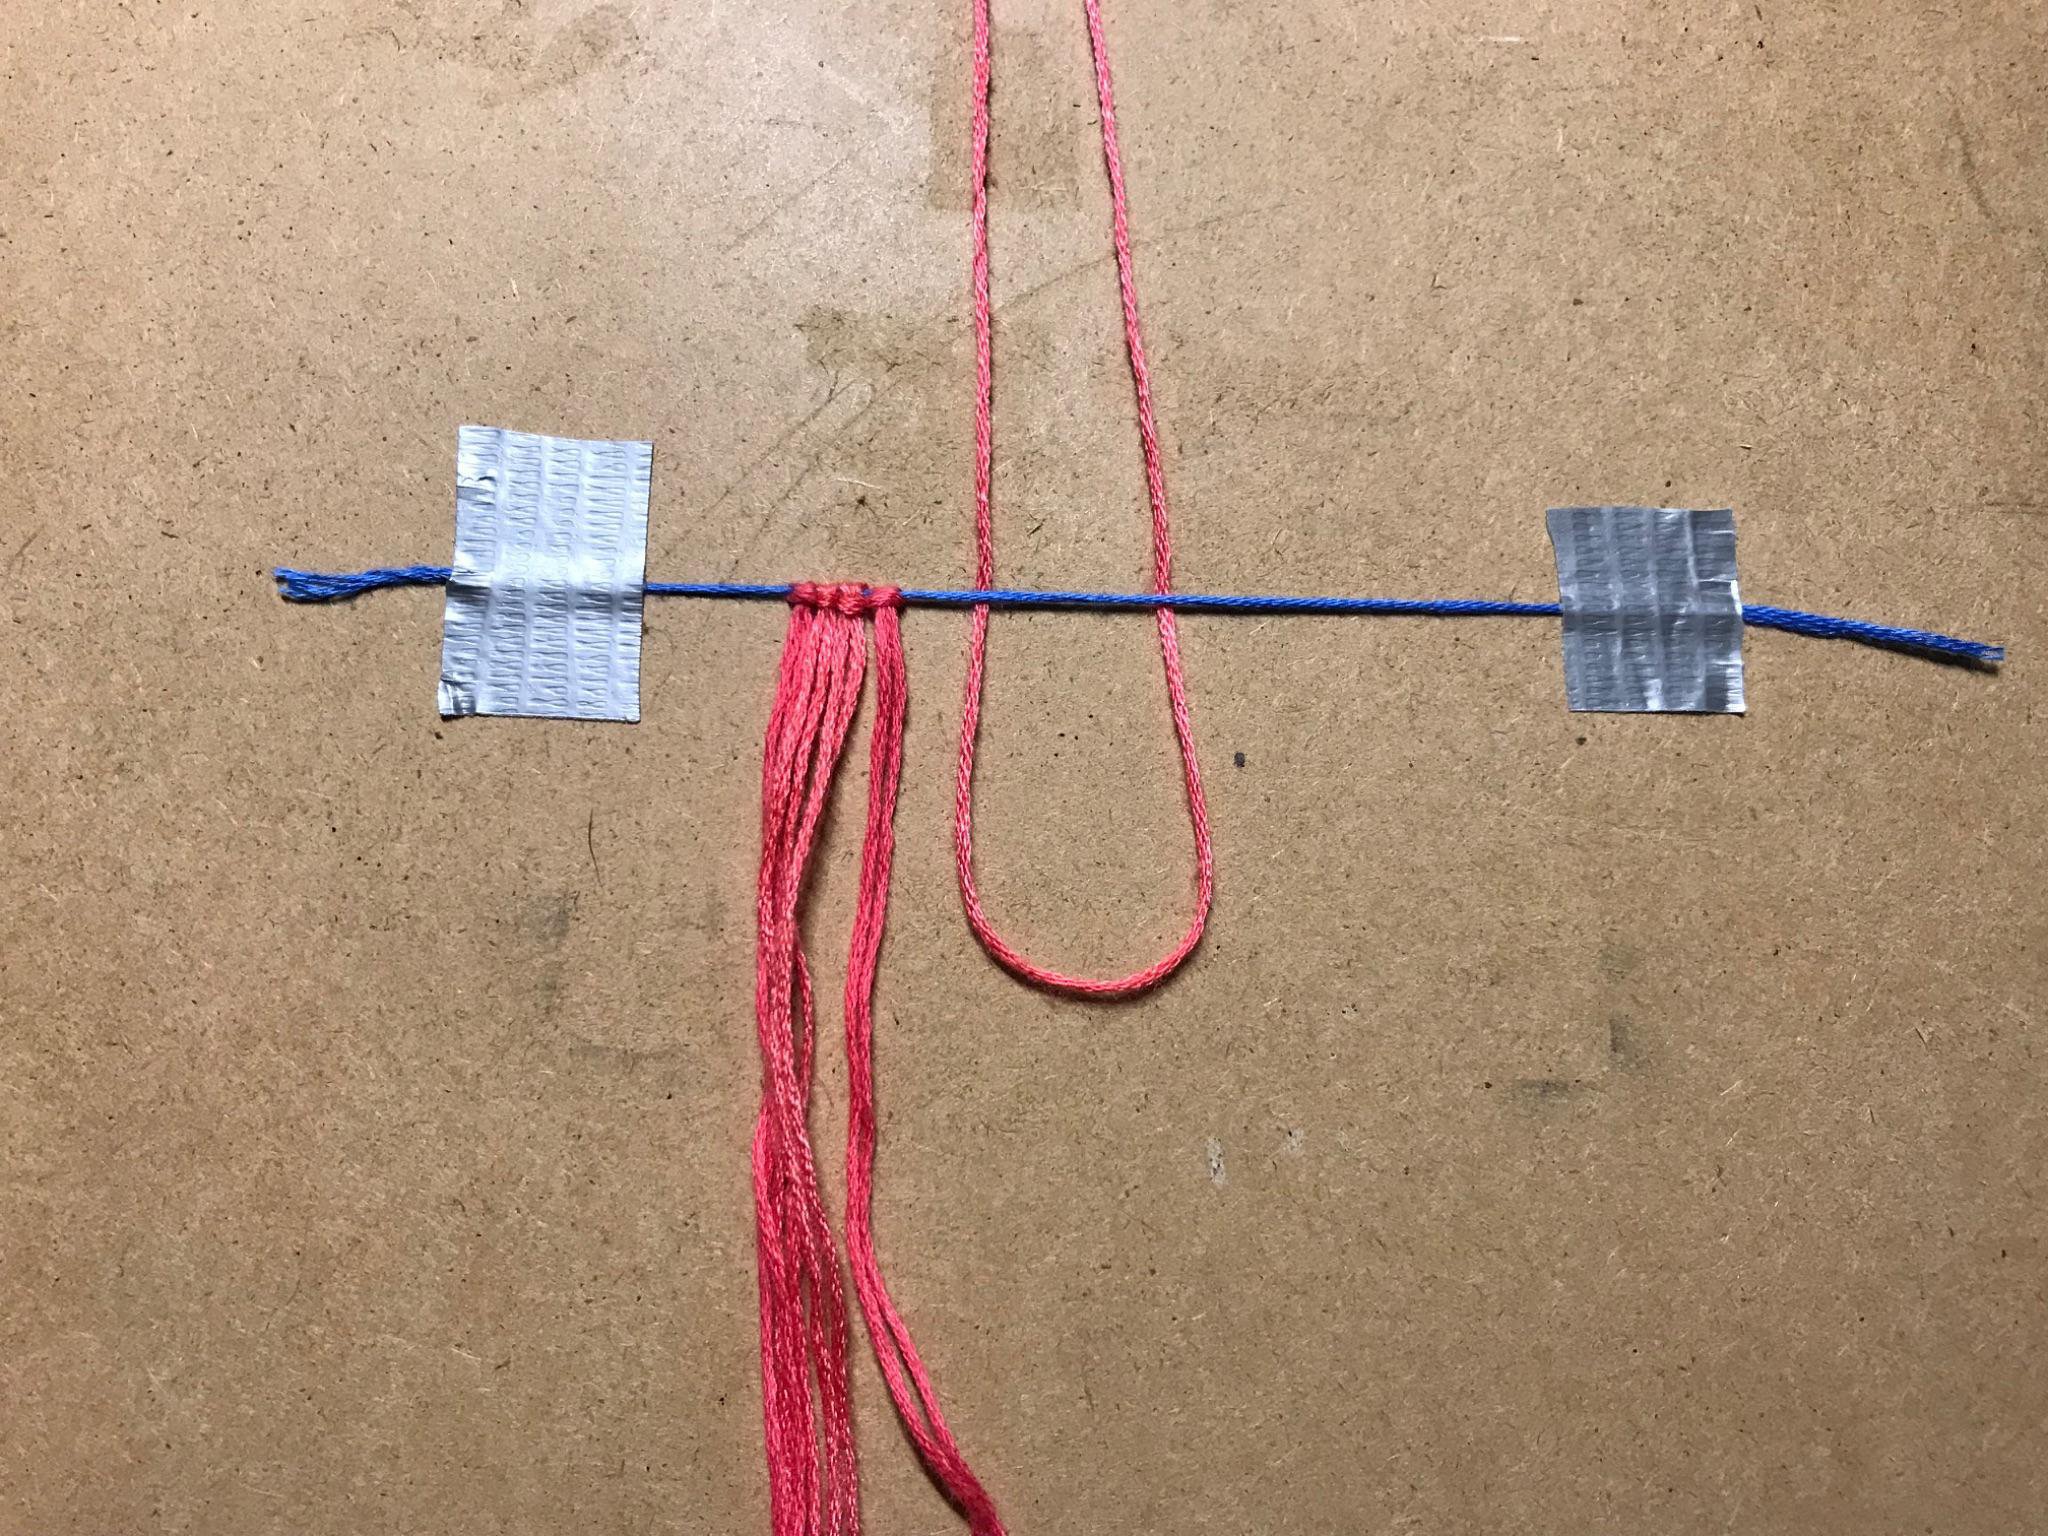
Tape the scrap thread horizontally onto your workspace with two pieces of tape - one on the right side, one on the left side. Put them a reasonable distance apart, as in between is where your base strings will go. And pull the string TIGHT.

Step 2:
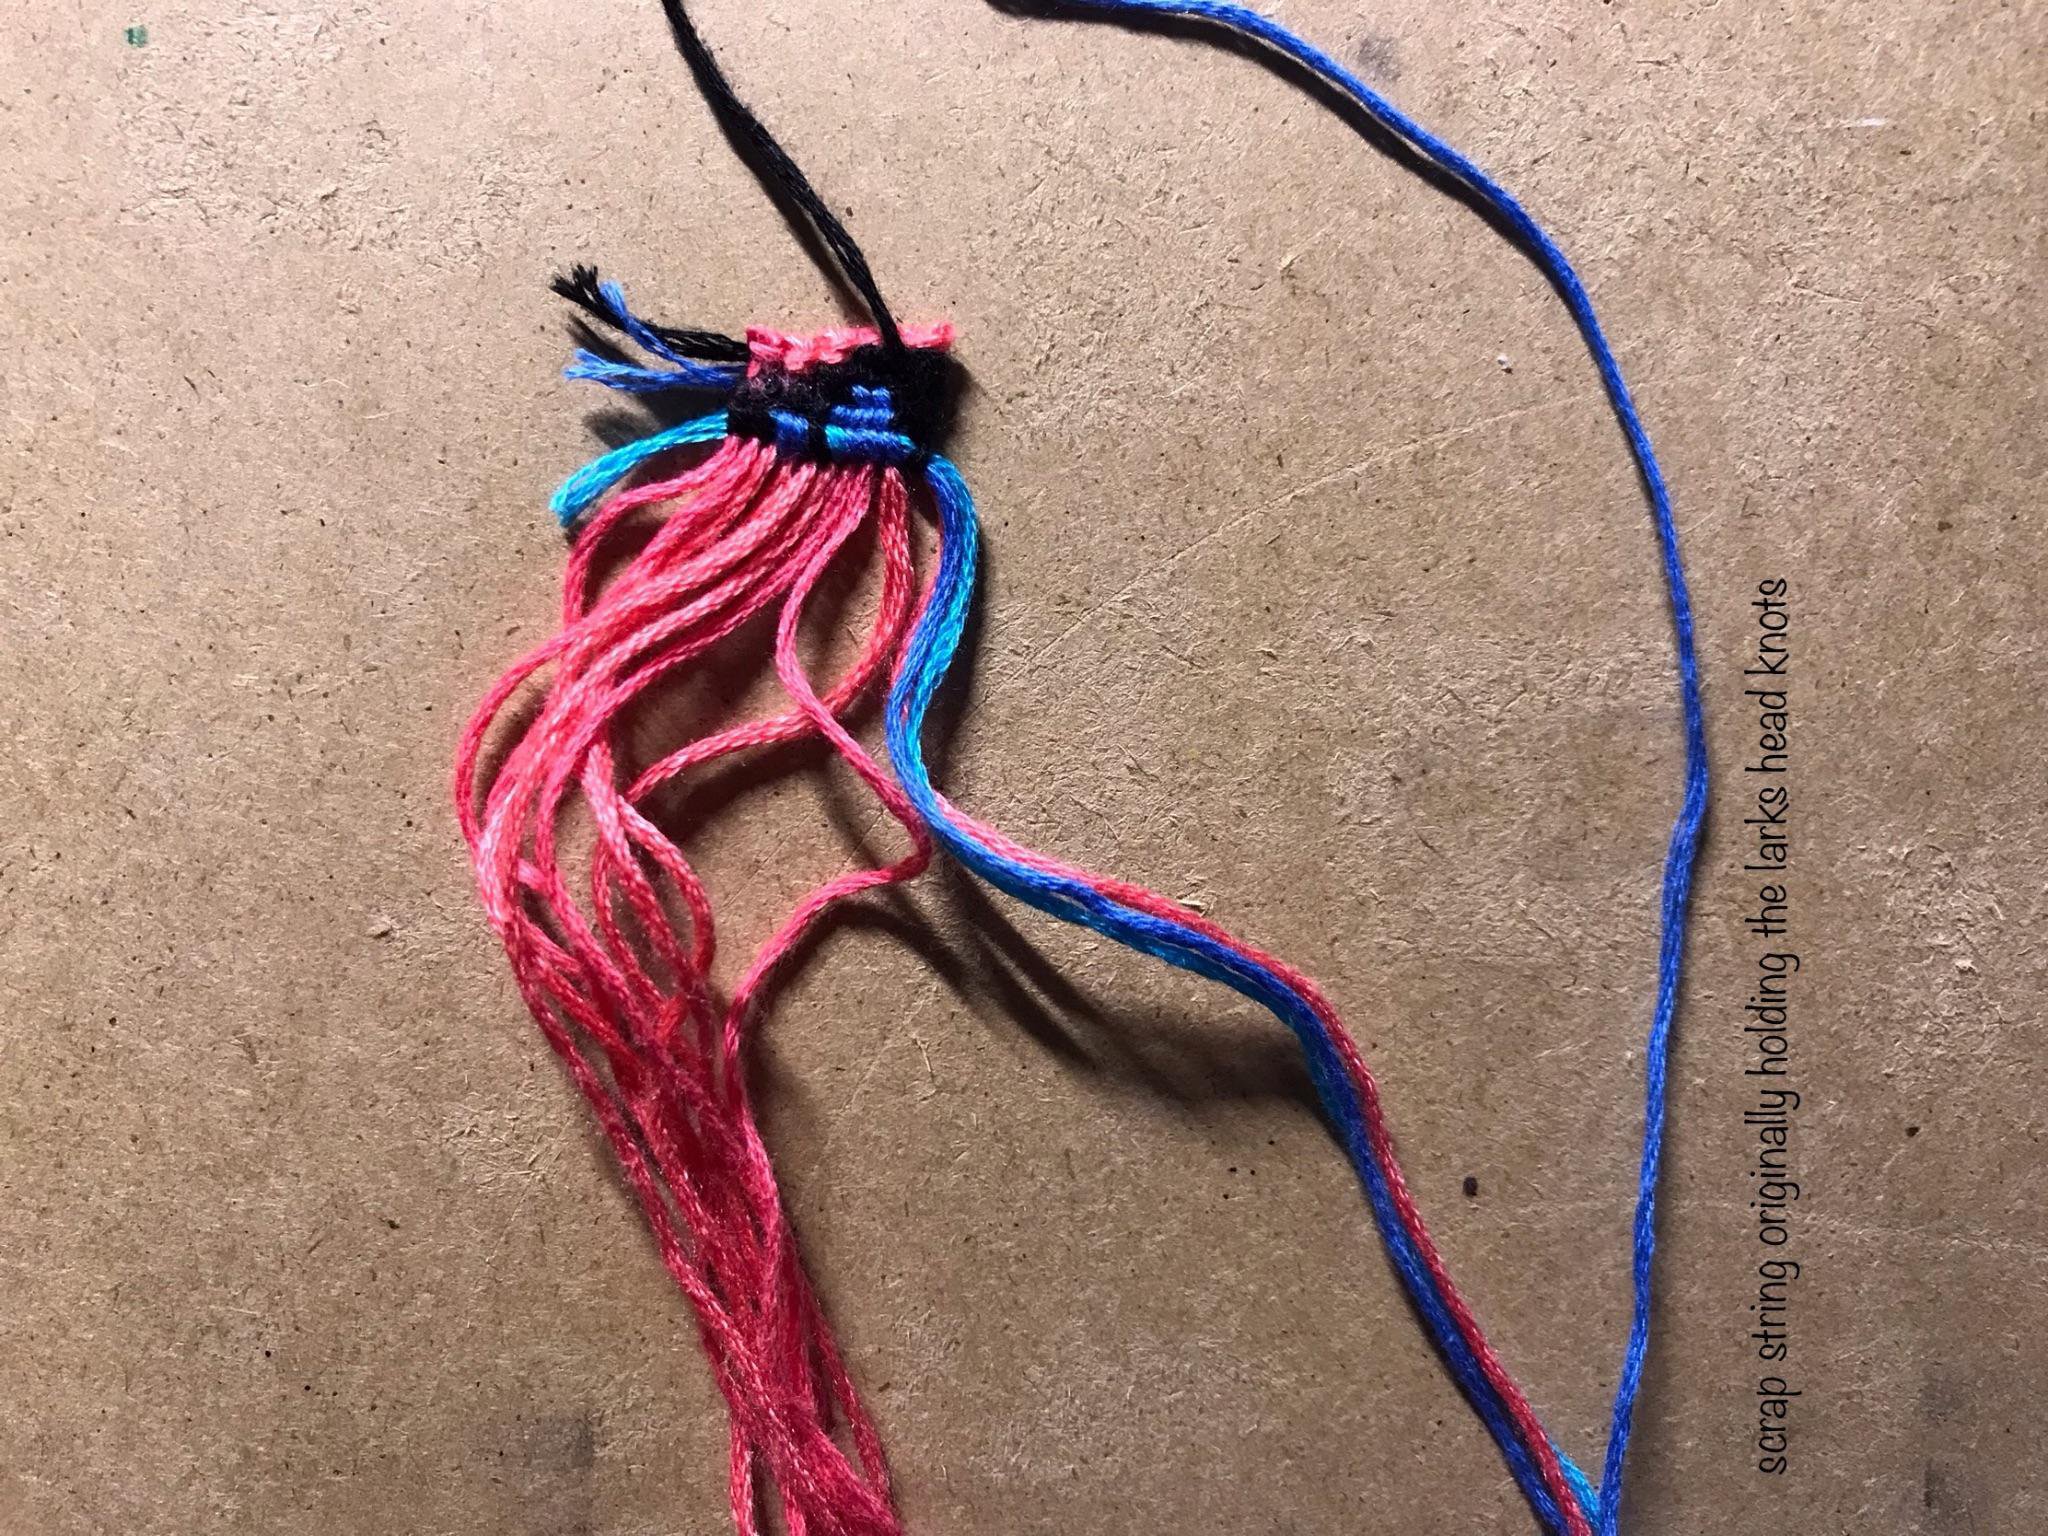
Taking 5 of the 10 strings, make the lark’s head knots onto the scrap string.

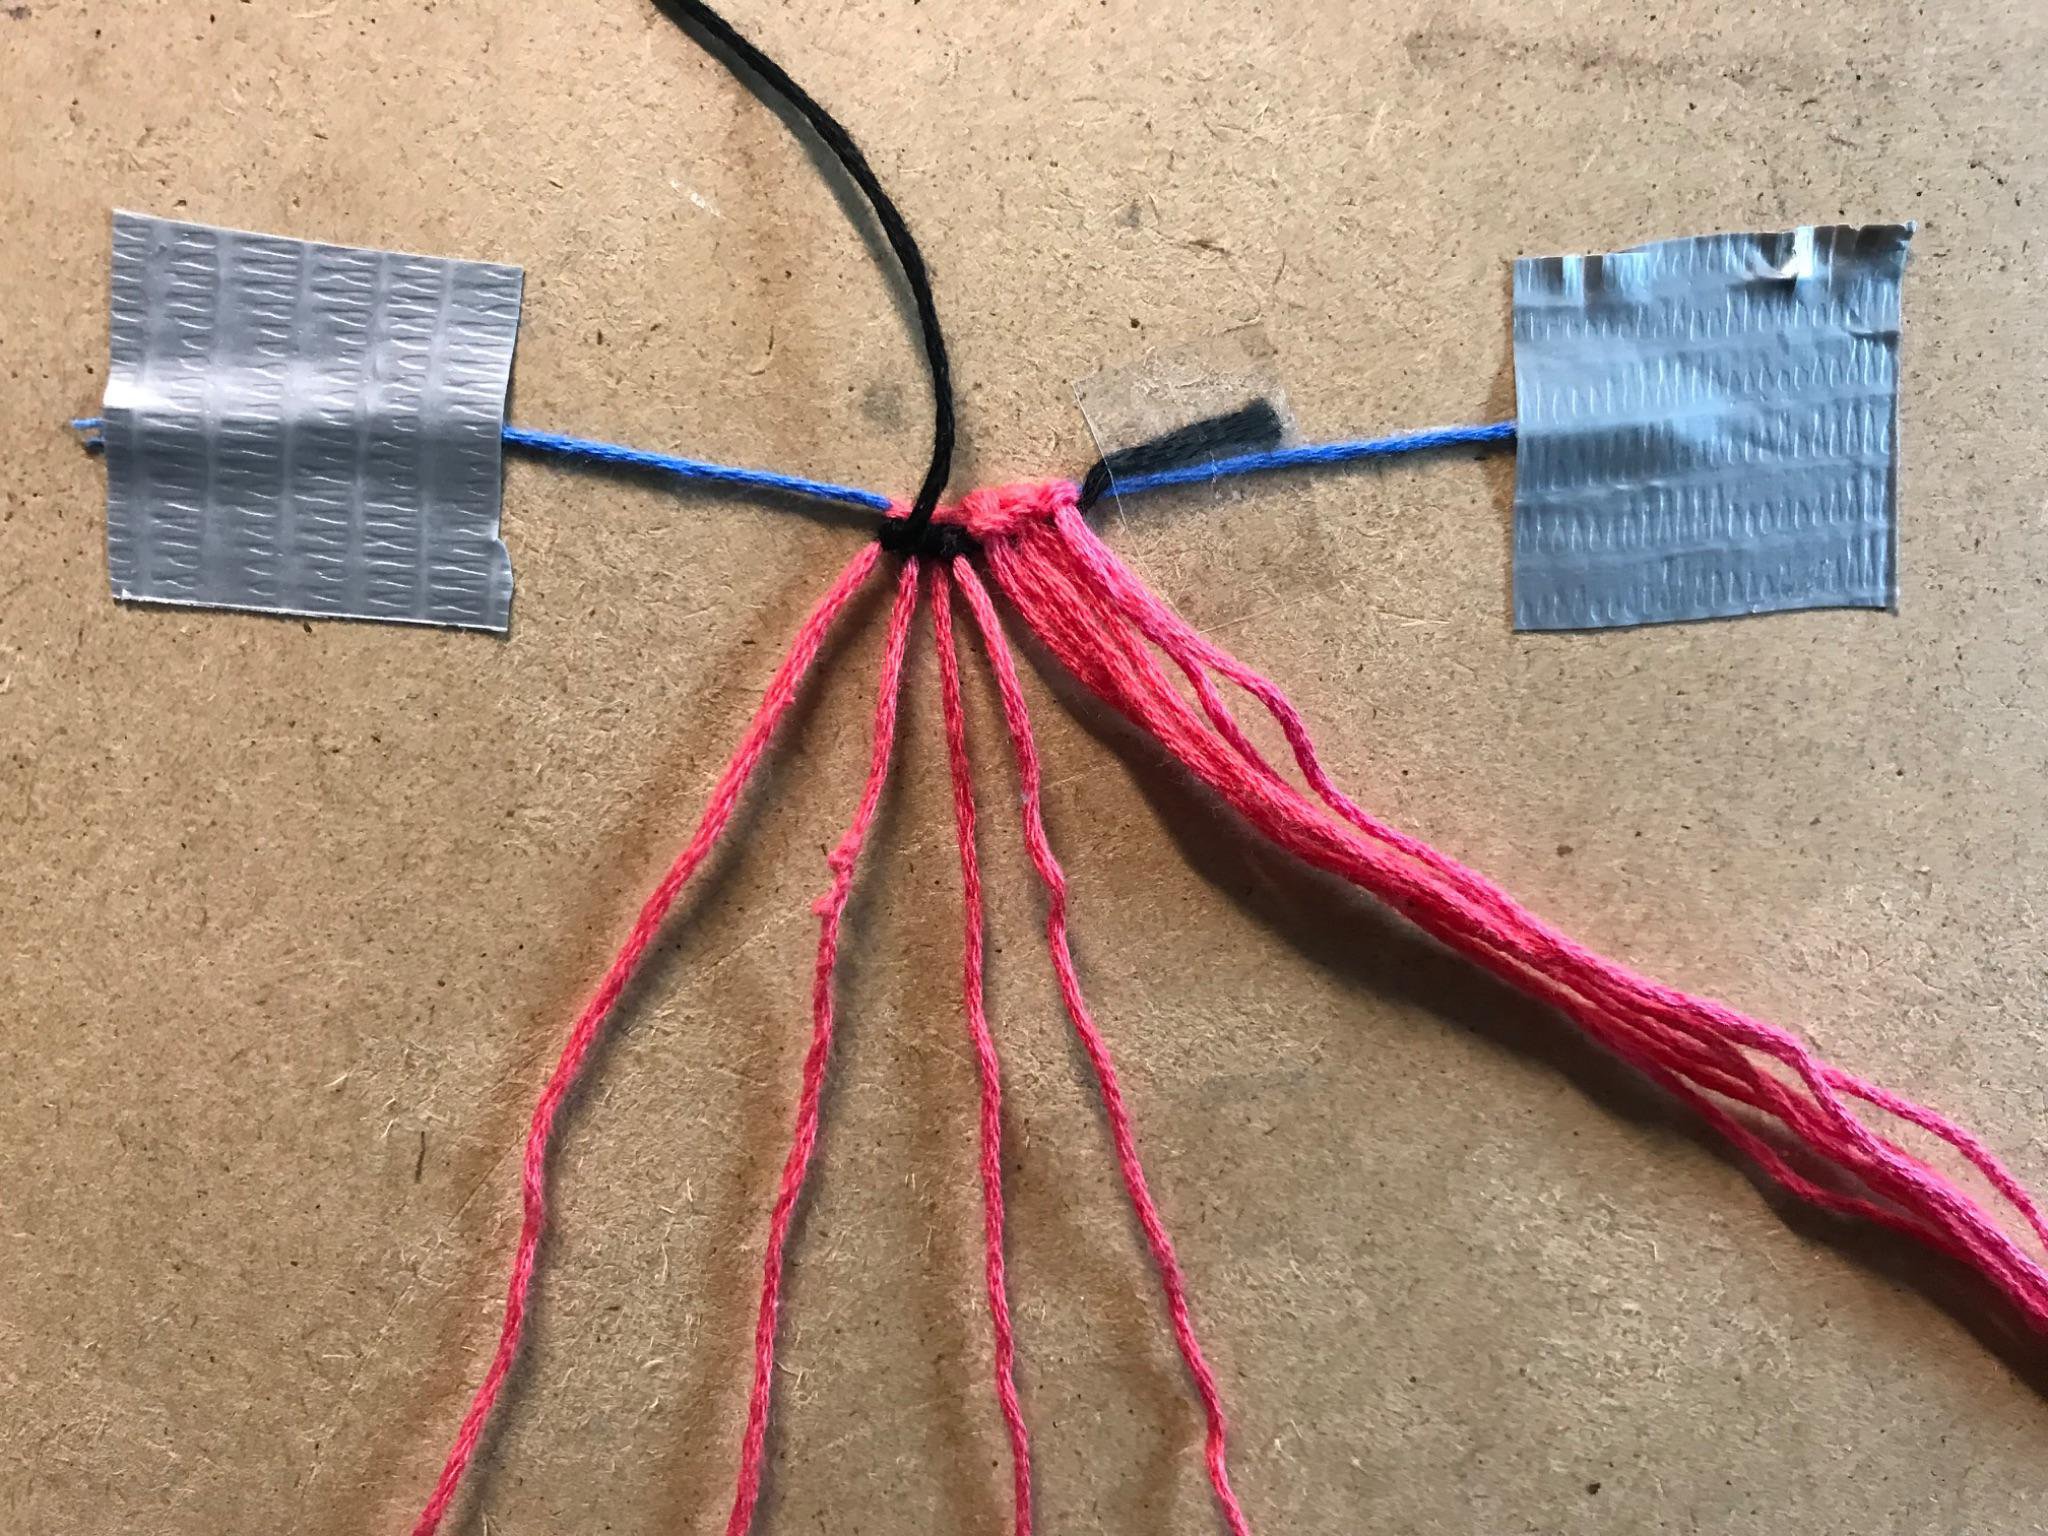
Step 3:
From the left, count 7 individual base strings and start knotting with the black leading string on the 7th one. Then knot across the rest of the row. You should make 4 knots in that row.

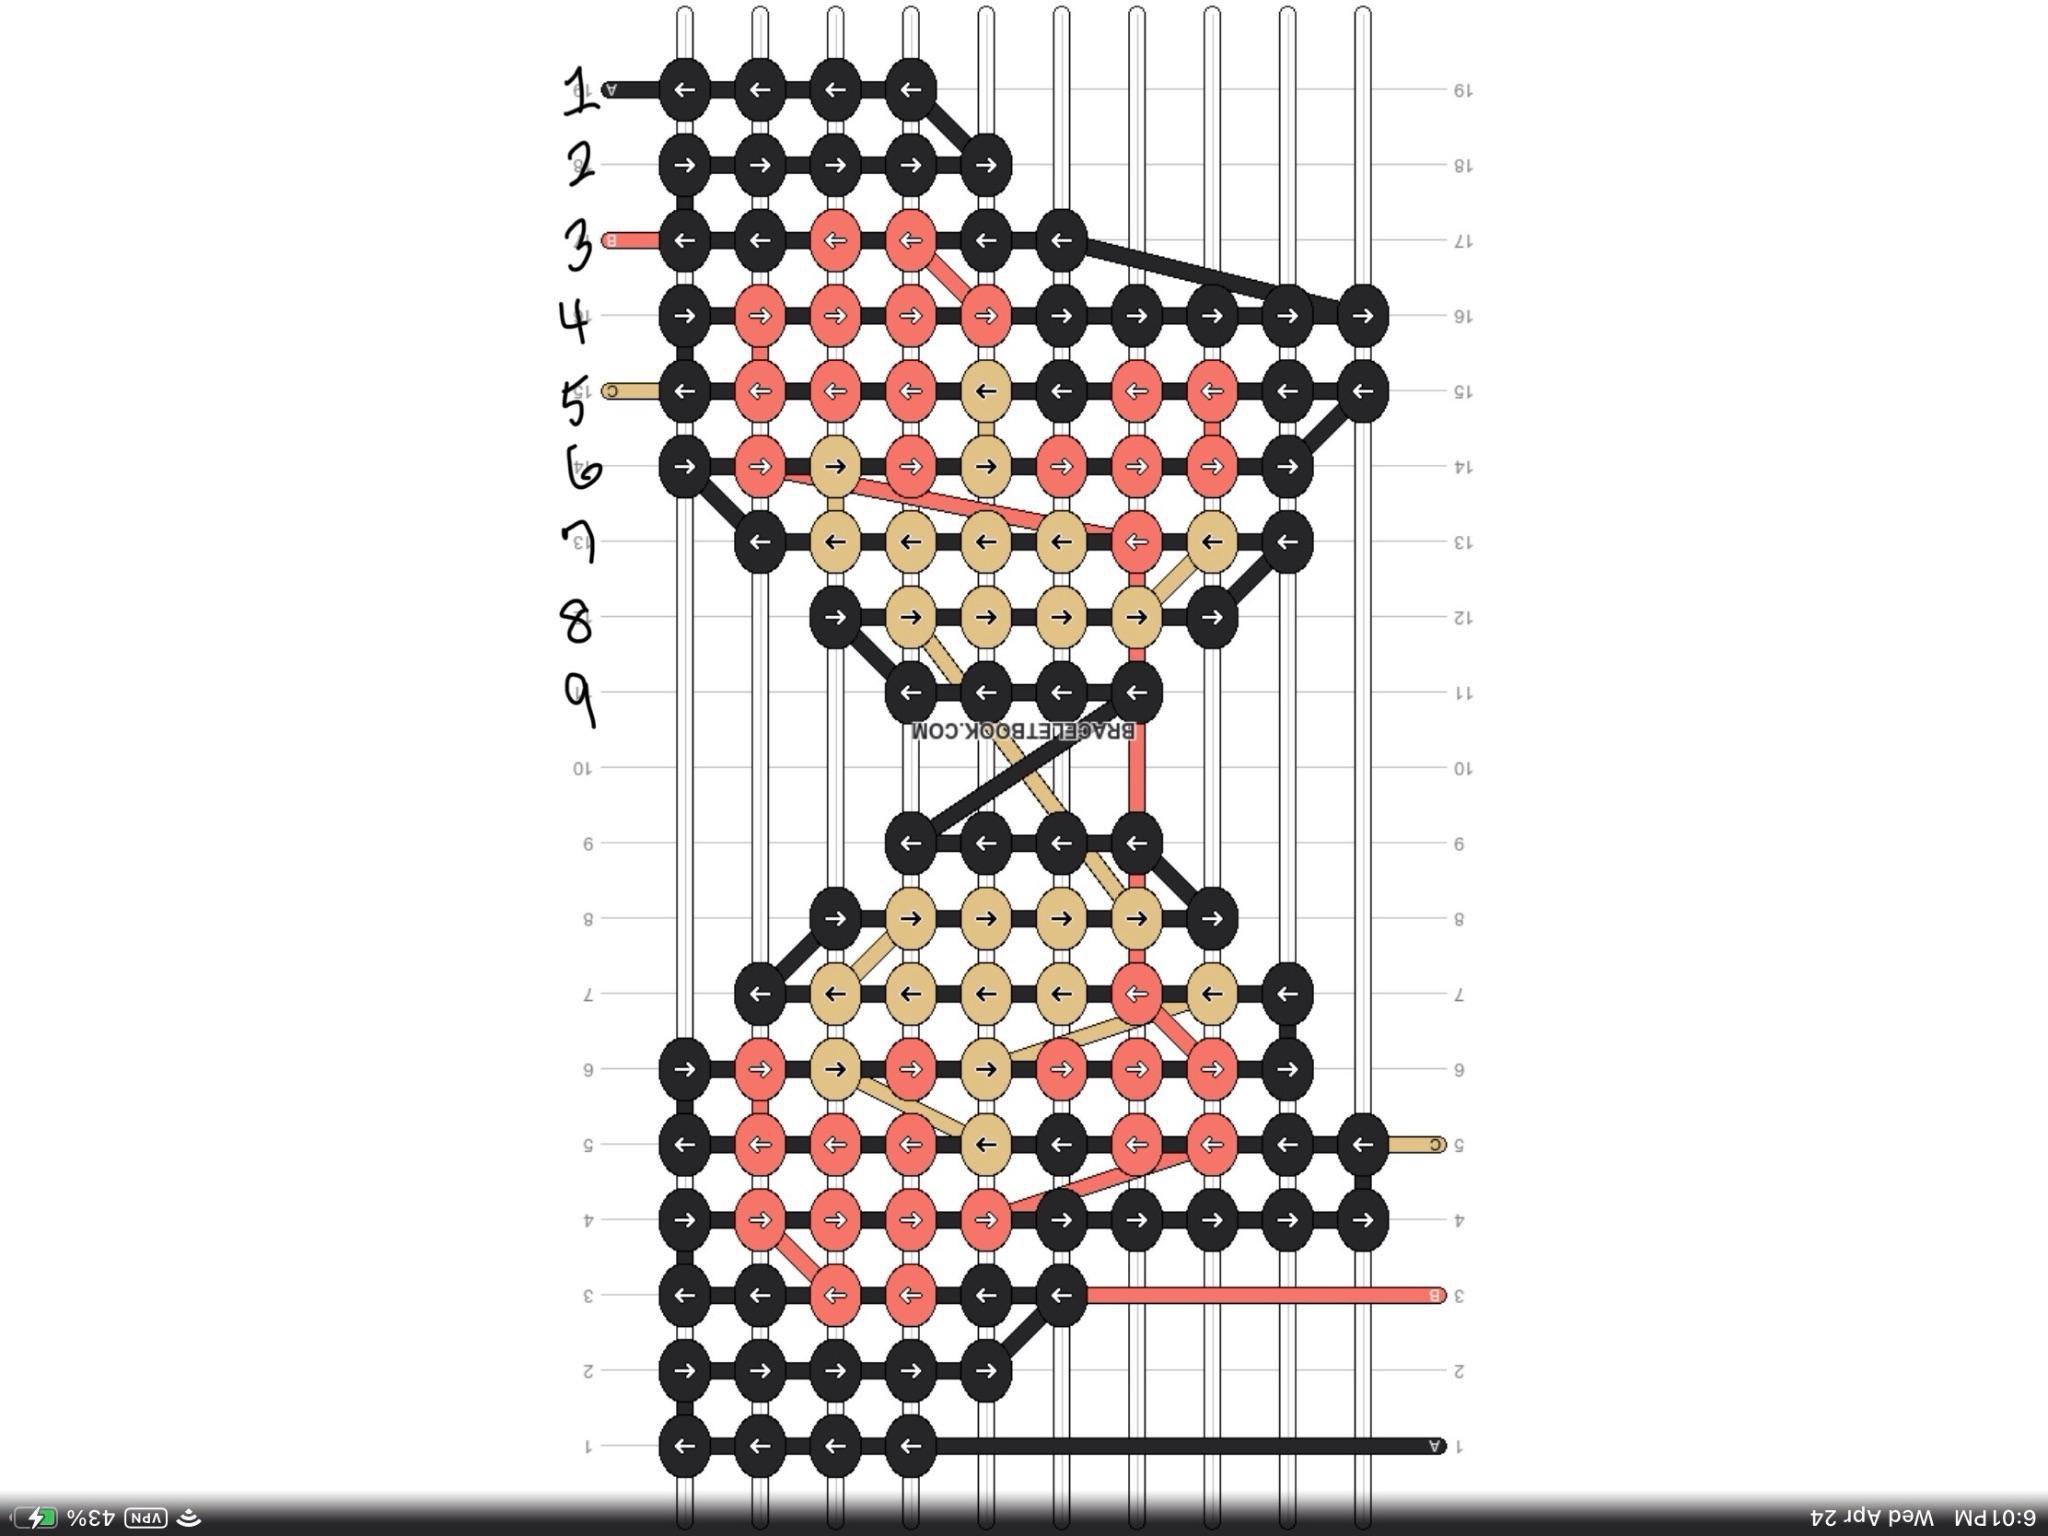
Step 4:
Now, just follow the pattern until row 5, which is where there’s going to be a change. If you’ve made the bookmark start before, you’re probably familiar with this concept: when you’re hopping strings (say from string 5 this row to string 6 the next row) don’t use the straight edge technique. If you’re going to a new string, don’t use the straight edge technique, but on the next row, when you’re starting on that string, straight edge is okay.
Here are the hopping string rows:
row 2 → row 3 ~~ backward knot on the end of row 2 and backward-forward on the beginning of row 3
row 7 → row 8 ~~ forward backward knot on the end of row 7 and backward knot on the beginning of row 8
row 8 → row 9 ~~ backward forward knot on the end of row 8 and forward knot on the beginning of row 9
Step 5:
Now take off the tape holding the scrap string that’s holding the lark’s head knots. Then gently pull out the scrap string.
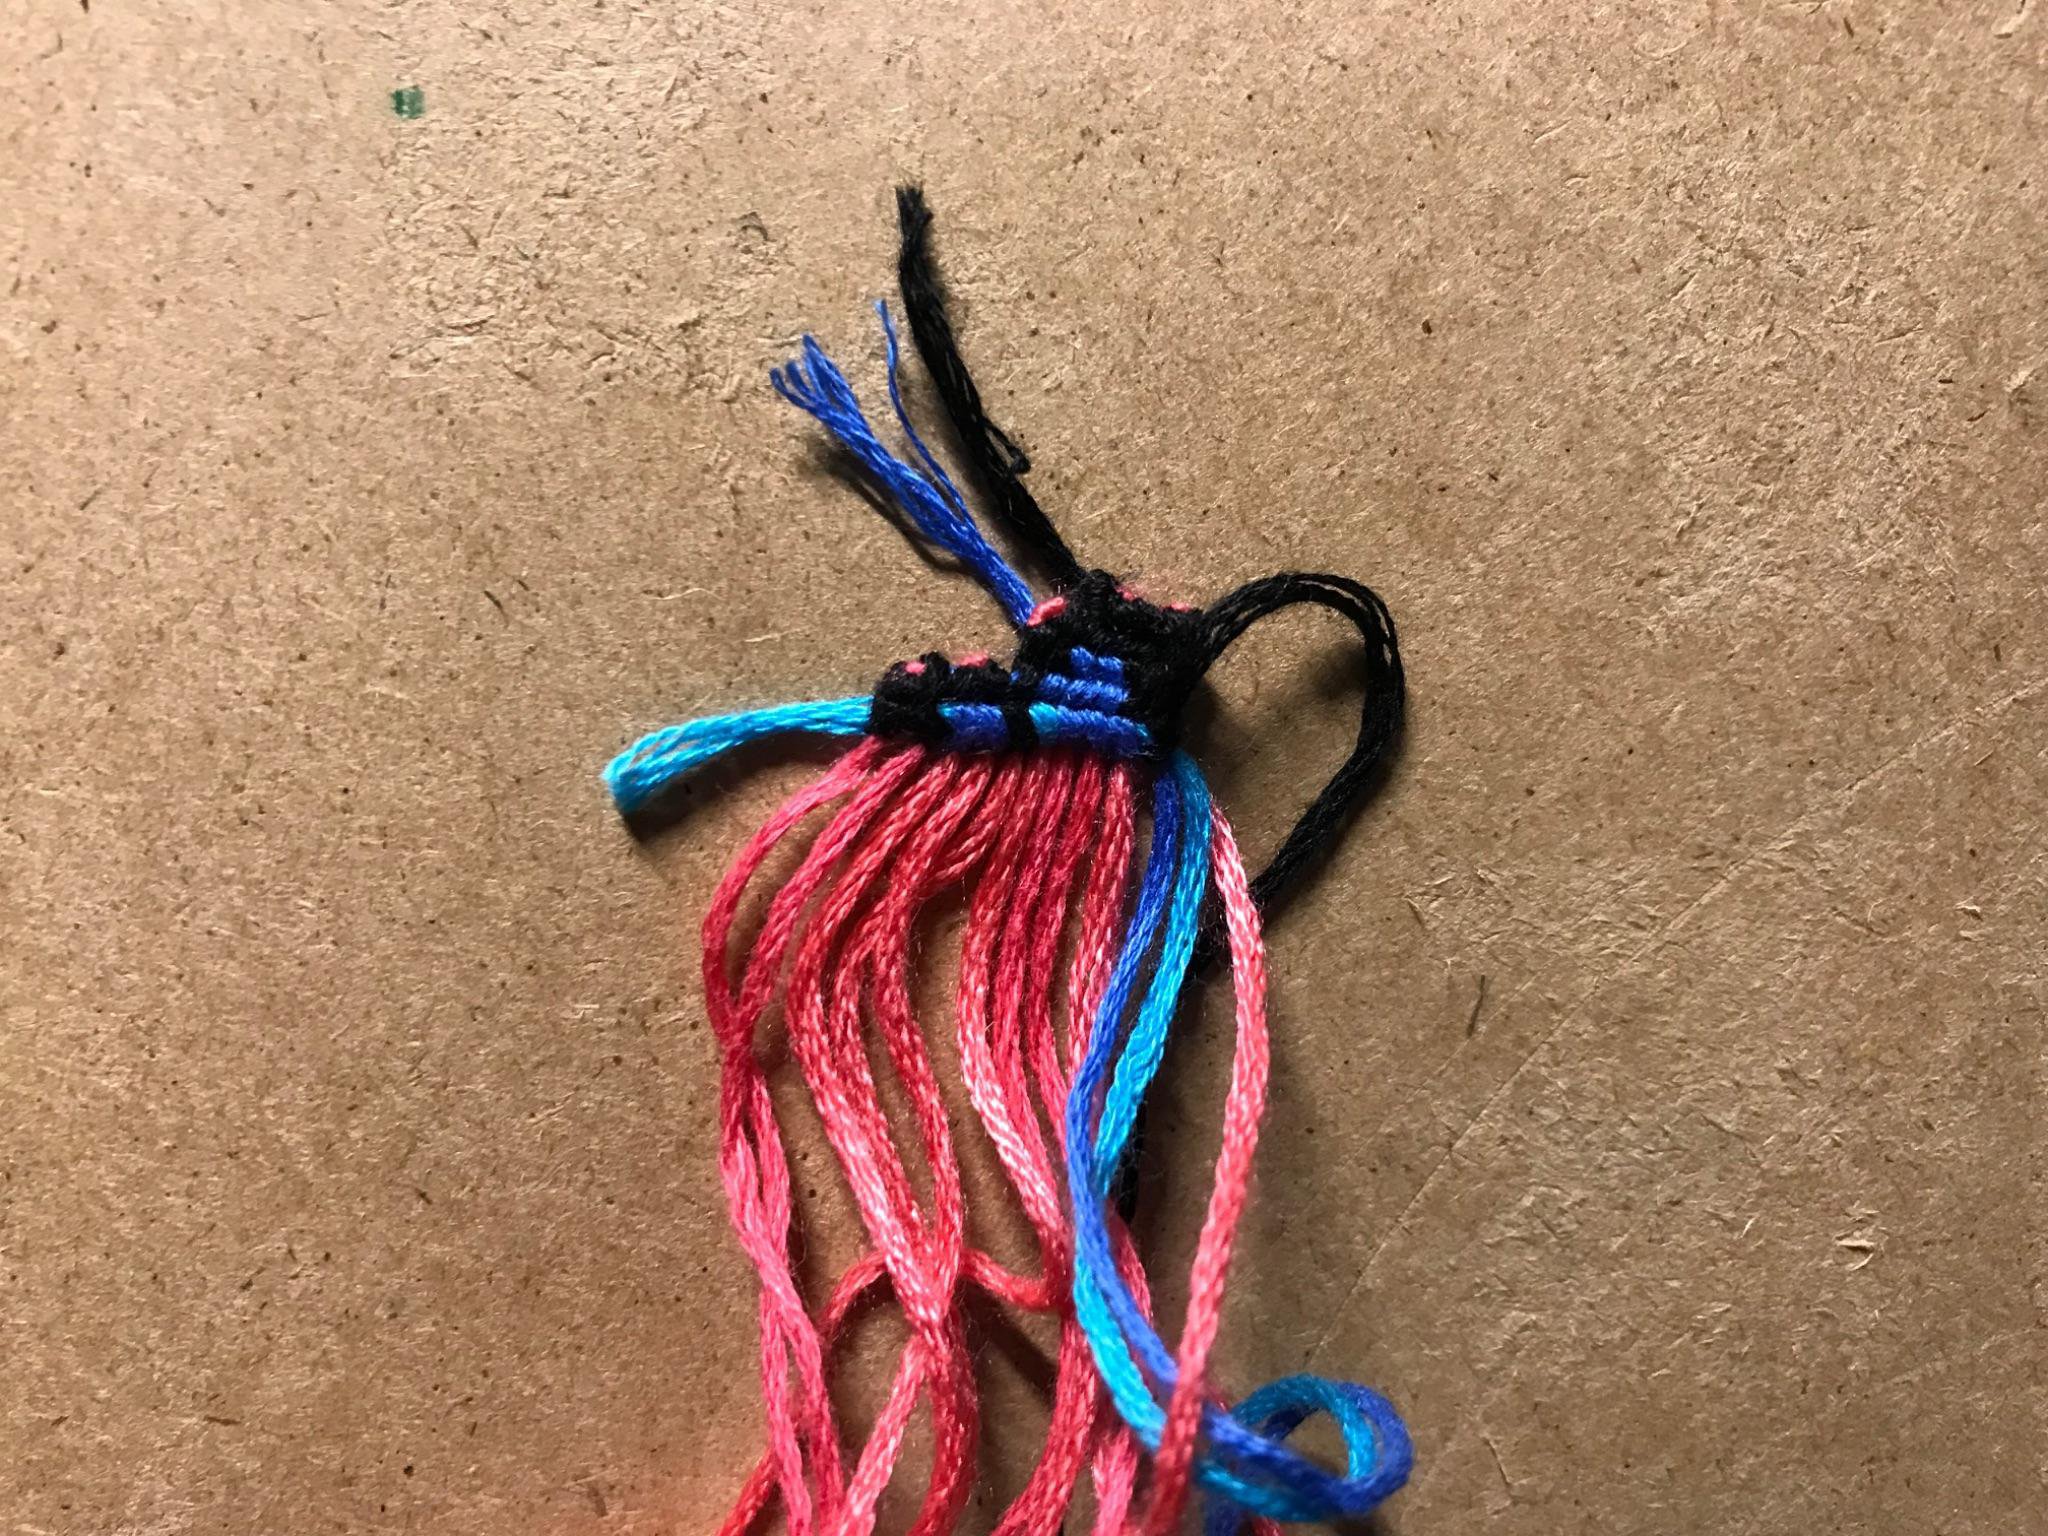
Step 6:
Gently pull on the base strings so that there’s barely any of it showing at the top. The wing will begin to form by itself as the base strings are pulled tight.
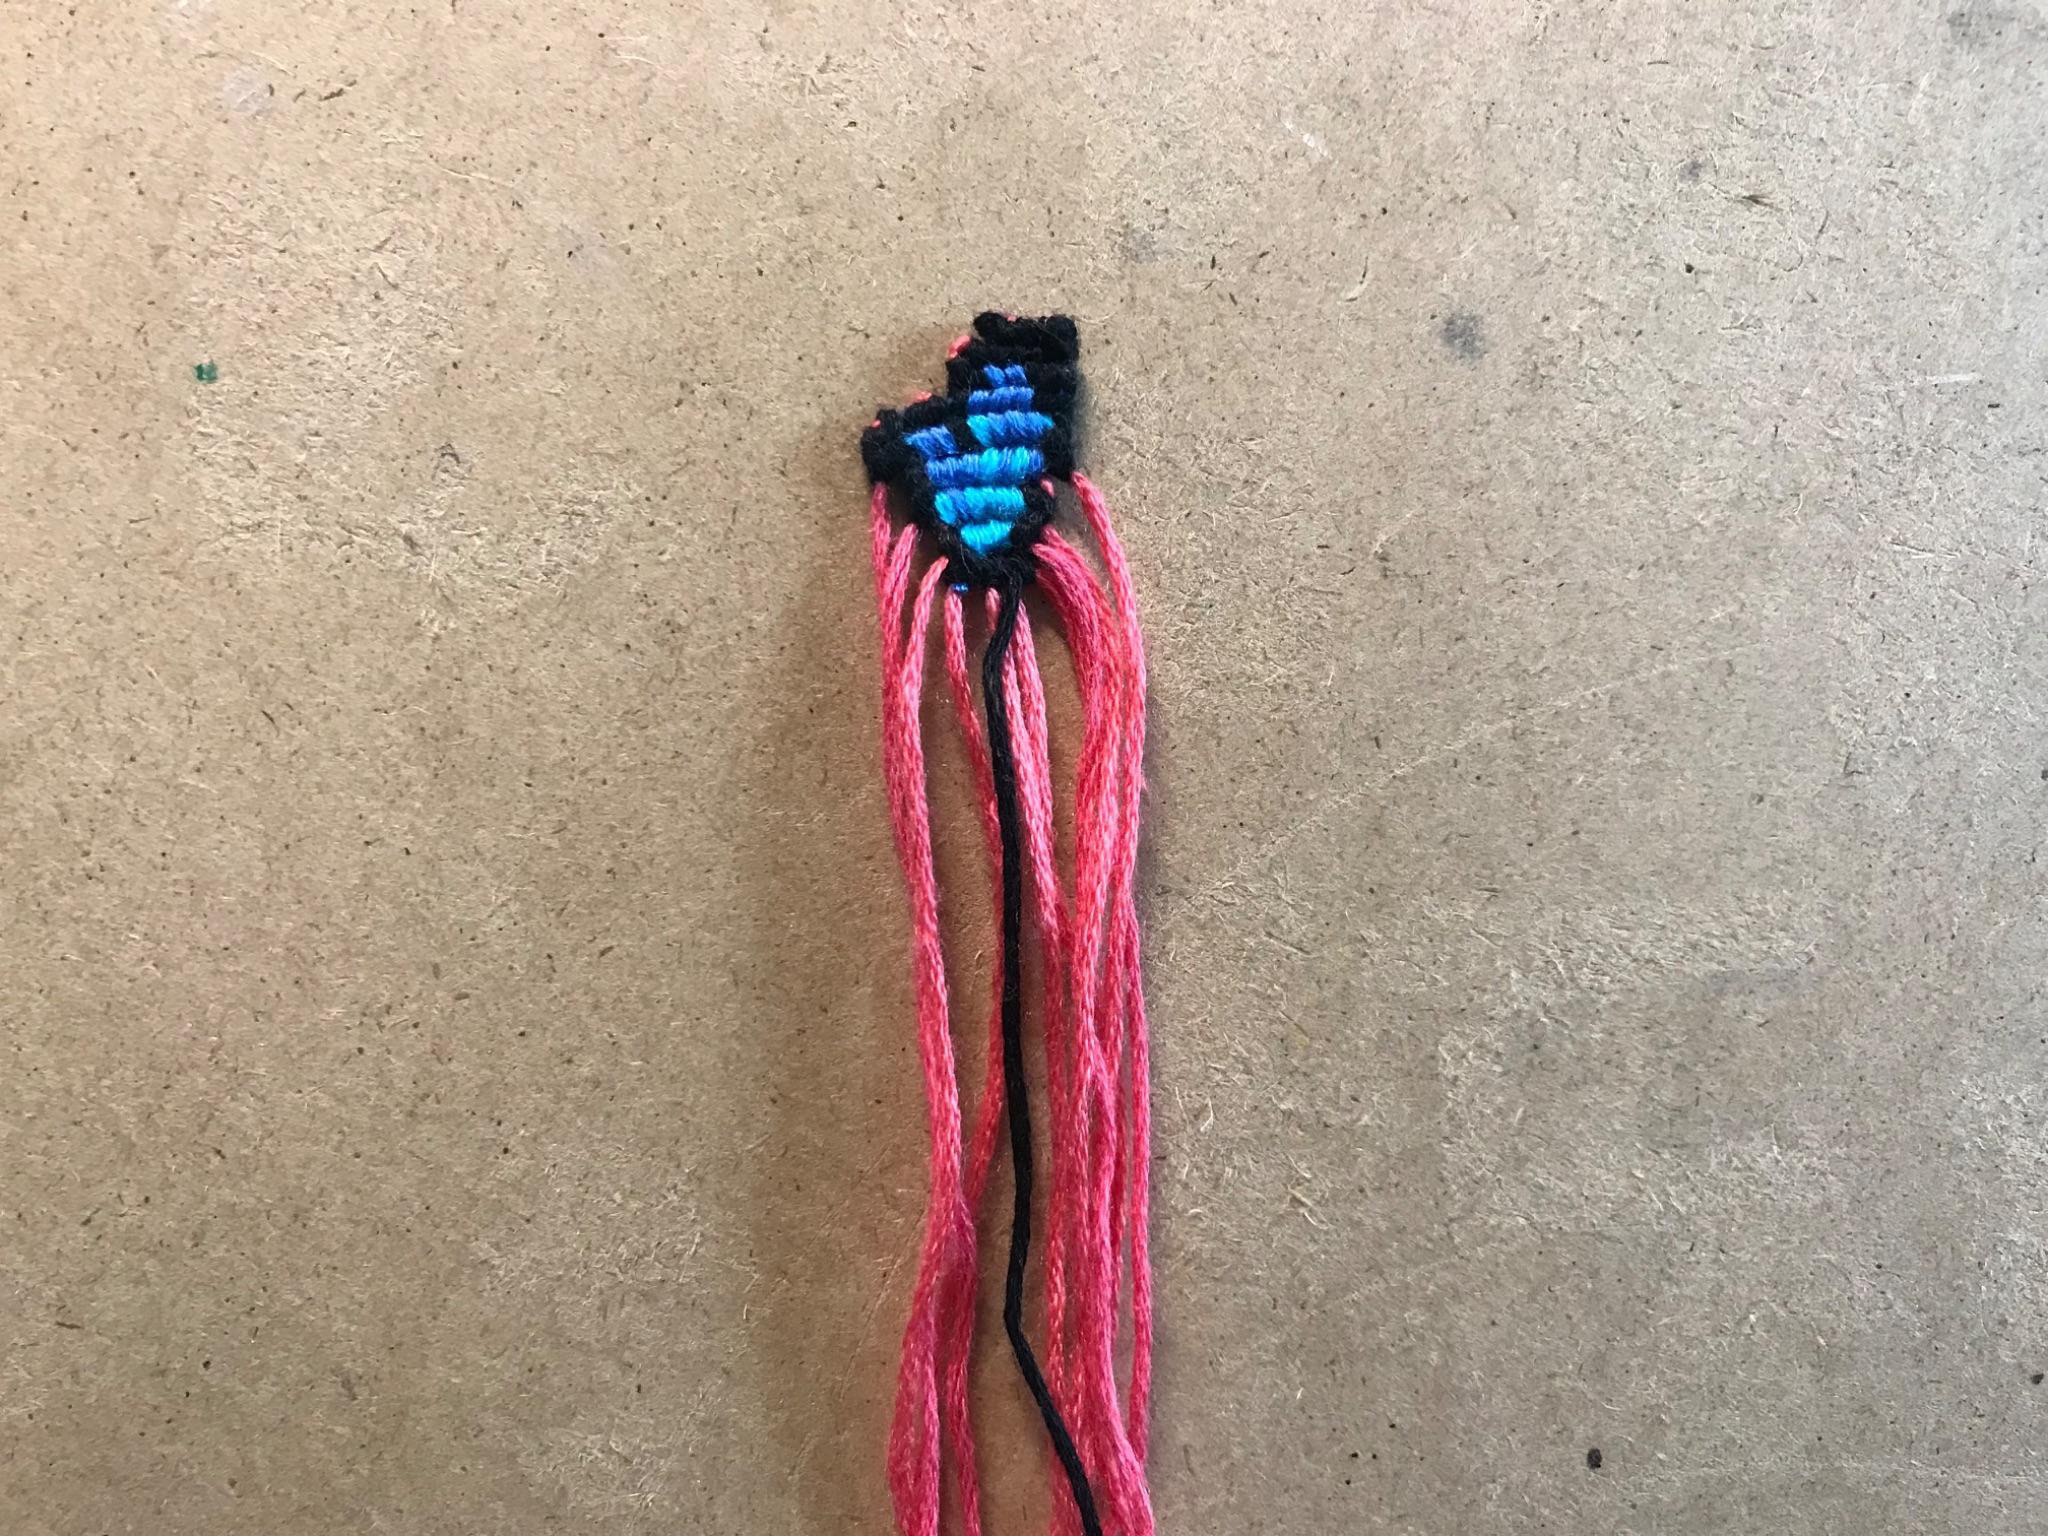
Step 7:
Then just finish knotting the rest of the wing all the way down to row 9 and set it aside. You can cut off the two colored leading strings (for me it’s blue) but leave about 6 extra inches (15 cm) of the black string.
Step 8:
Now let’s start the second wing! You’re going to do the second wing the same way you did the first wing - from the outside to the inside. I recommend you take a screenshot of the pattern, then use the markup feature to rotate it upside down and re-write the numbers to 9 to make it easier to see the rows.
Step 9:
Now let’s take the scrap string again and tie the lark’s head knots with the base strings.
Step 10:
This time, instead of starting 7th from the left with the black leading string, you’ll be starting 7th from the RIGHT.
Step 11:
Same as last time, keep knotting the pattern until you get to row 5. Remember, when hopping strings, don’t do the straight edge technique!
For hopping strings, refer back to step 4, but flip all the knots (forward=backward, backward=forward, backward forward=forward backward, forward backward=backward forward).
For hopping strings, refer back to step 4, but flip all the knots (forward=backward, backward=forward, backward forward=forward backward, forward backward=backward forward).
Step 12:
Now, remove the scrap string and pull on the base strings to form the wing. Do all of this carefully and gently!
Step 13:
Now follow the marked-up pattern to your marked row 9. Then trim all the leading strings, but, again, leave a bit of black.

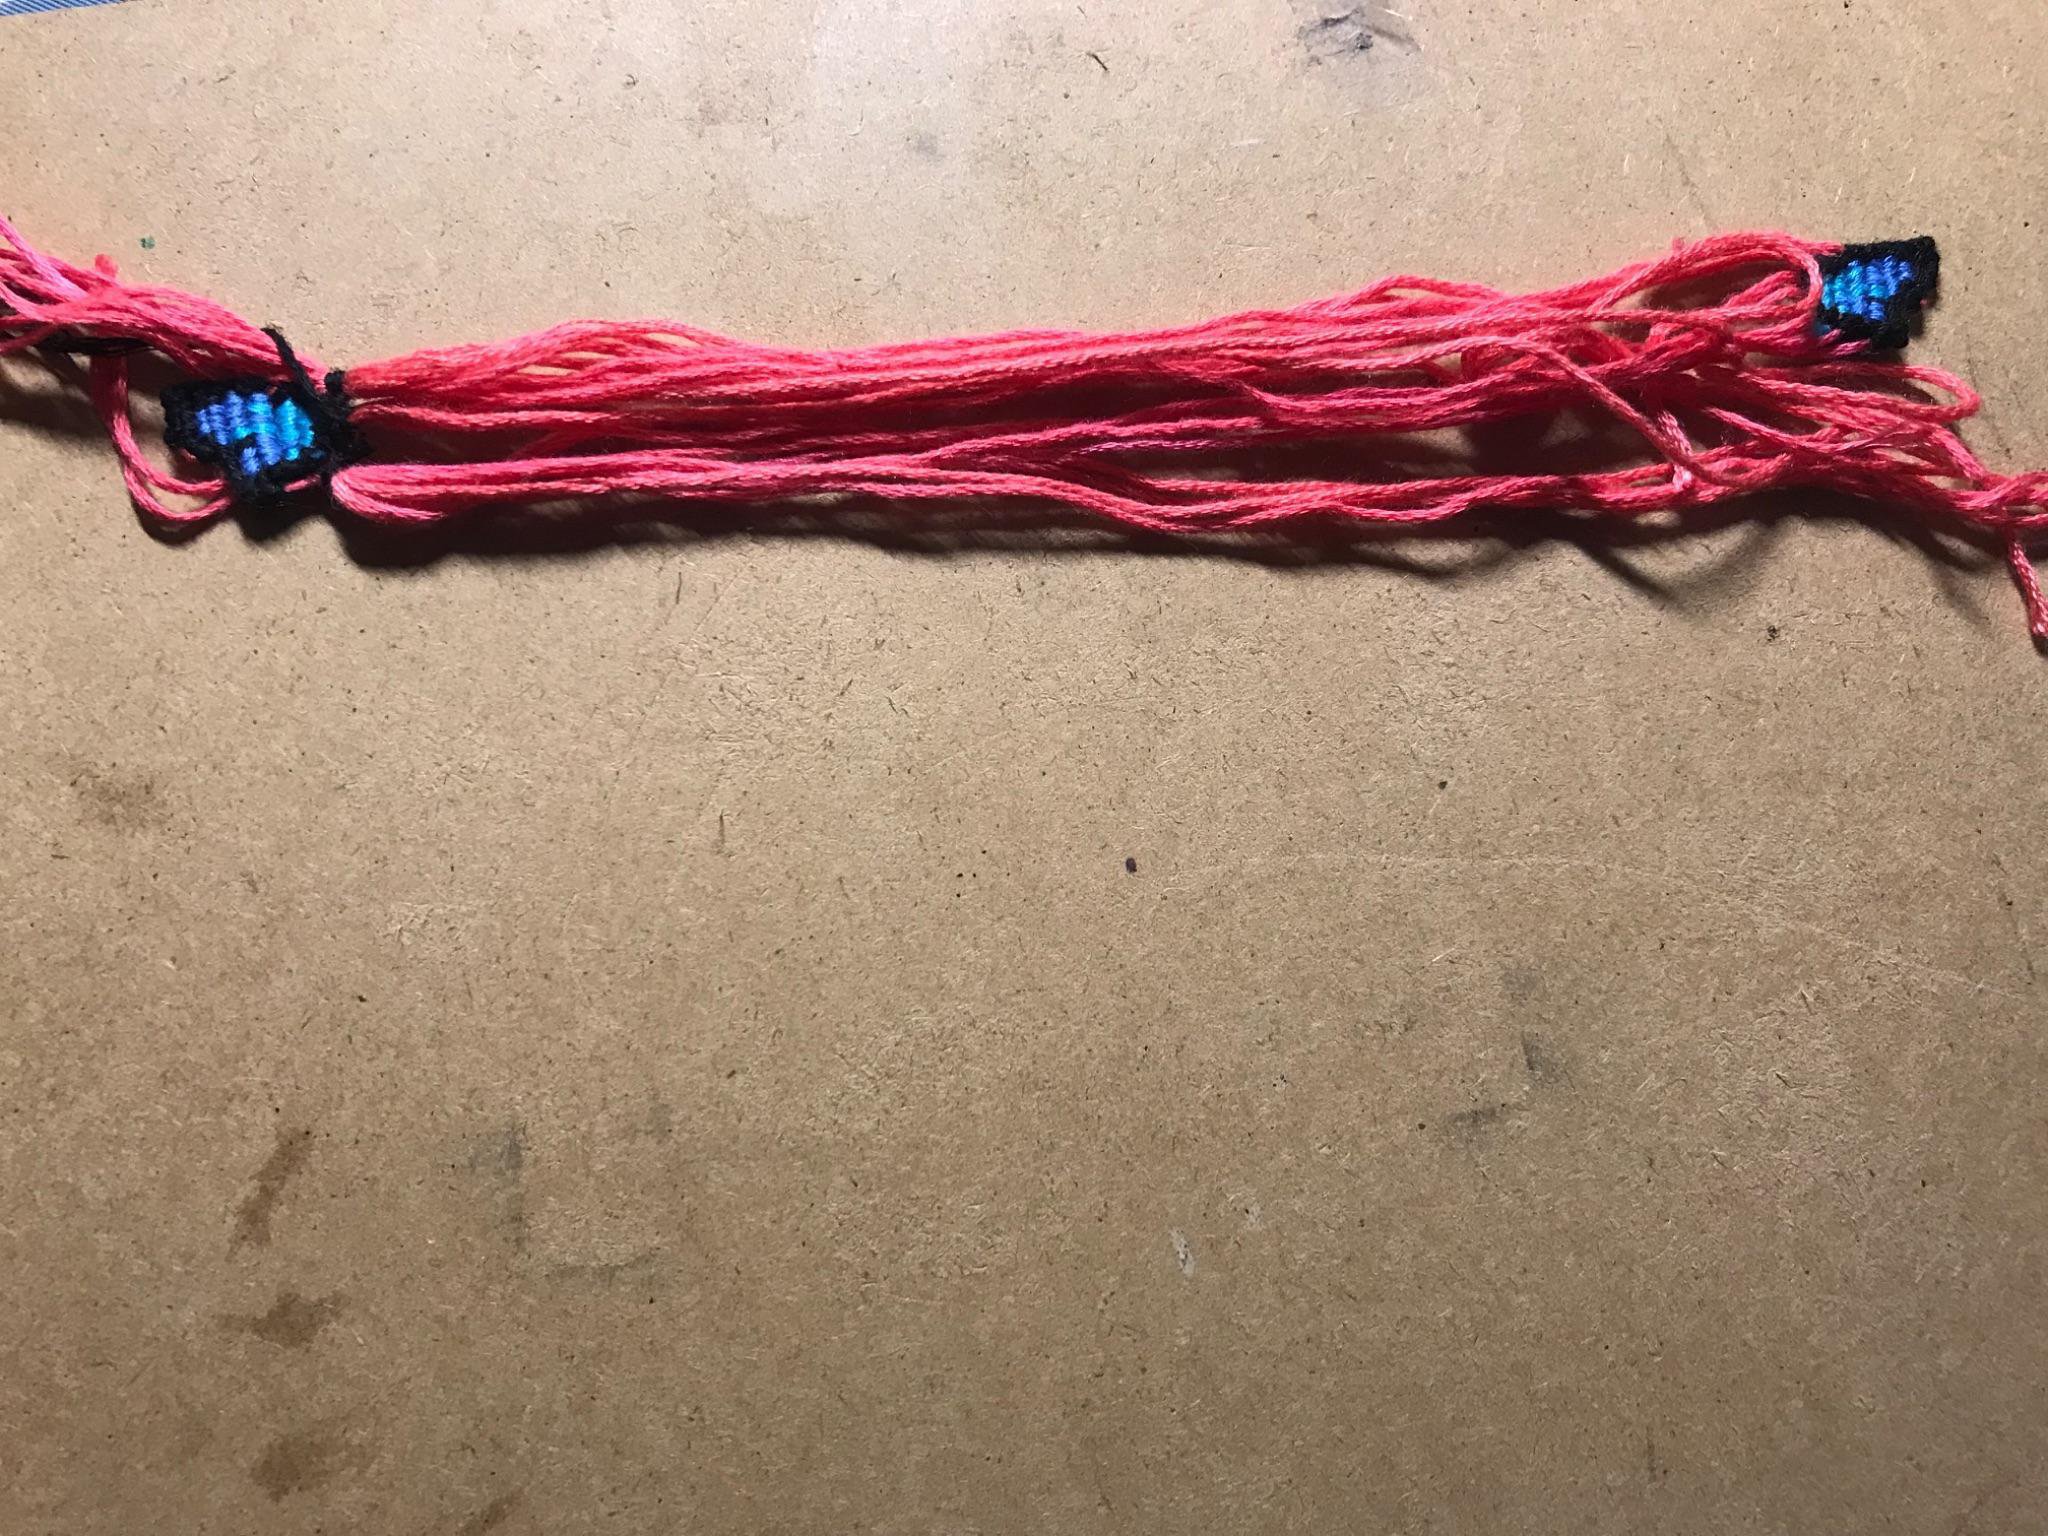
Step 14:
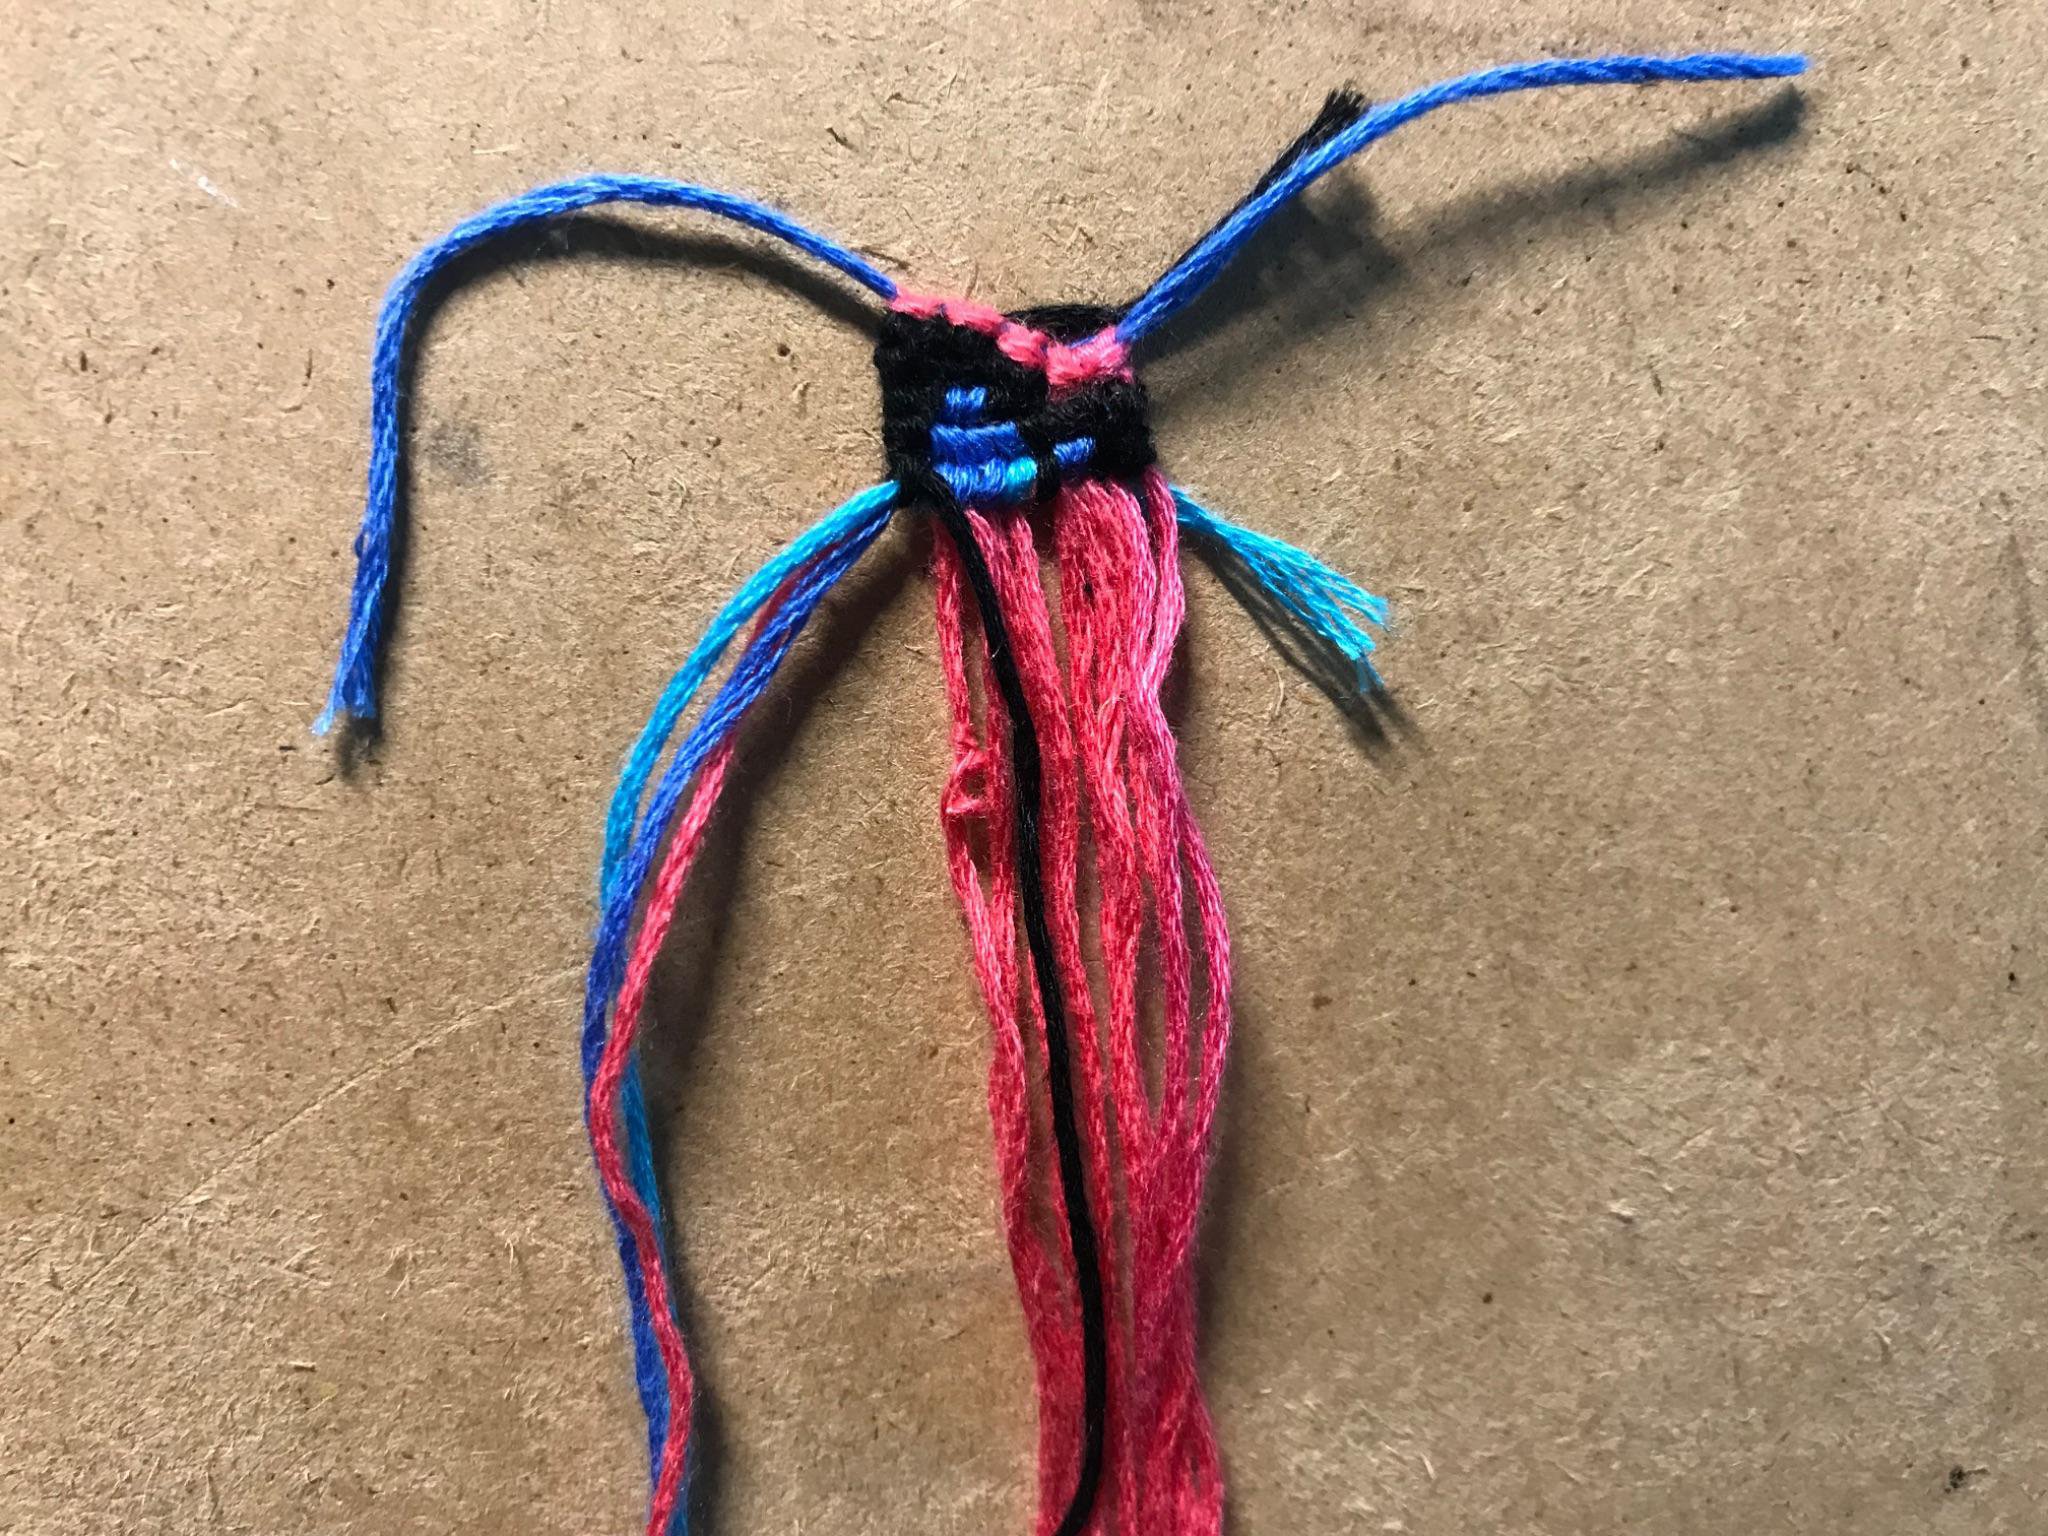
Now we can connect the two wings! Bring the wings together, leaving about 3 inches (8 cm) of space between them.
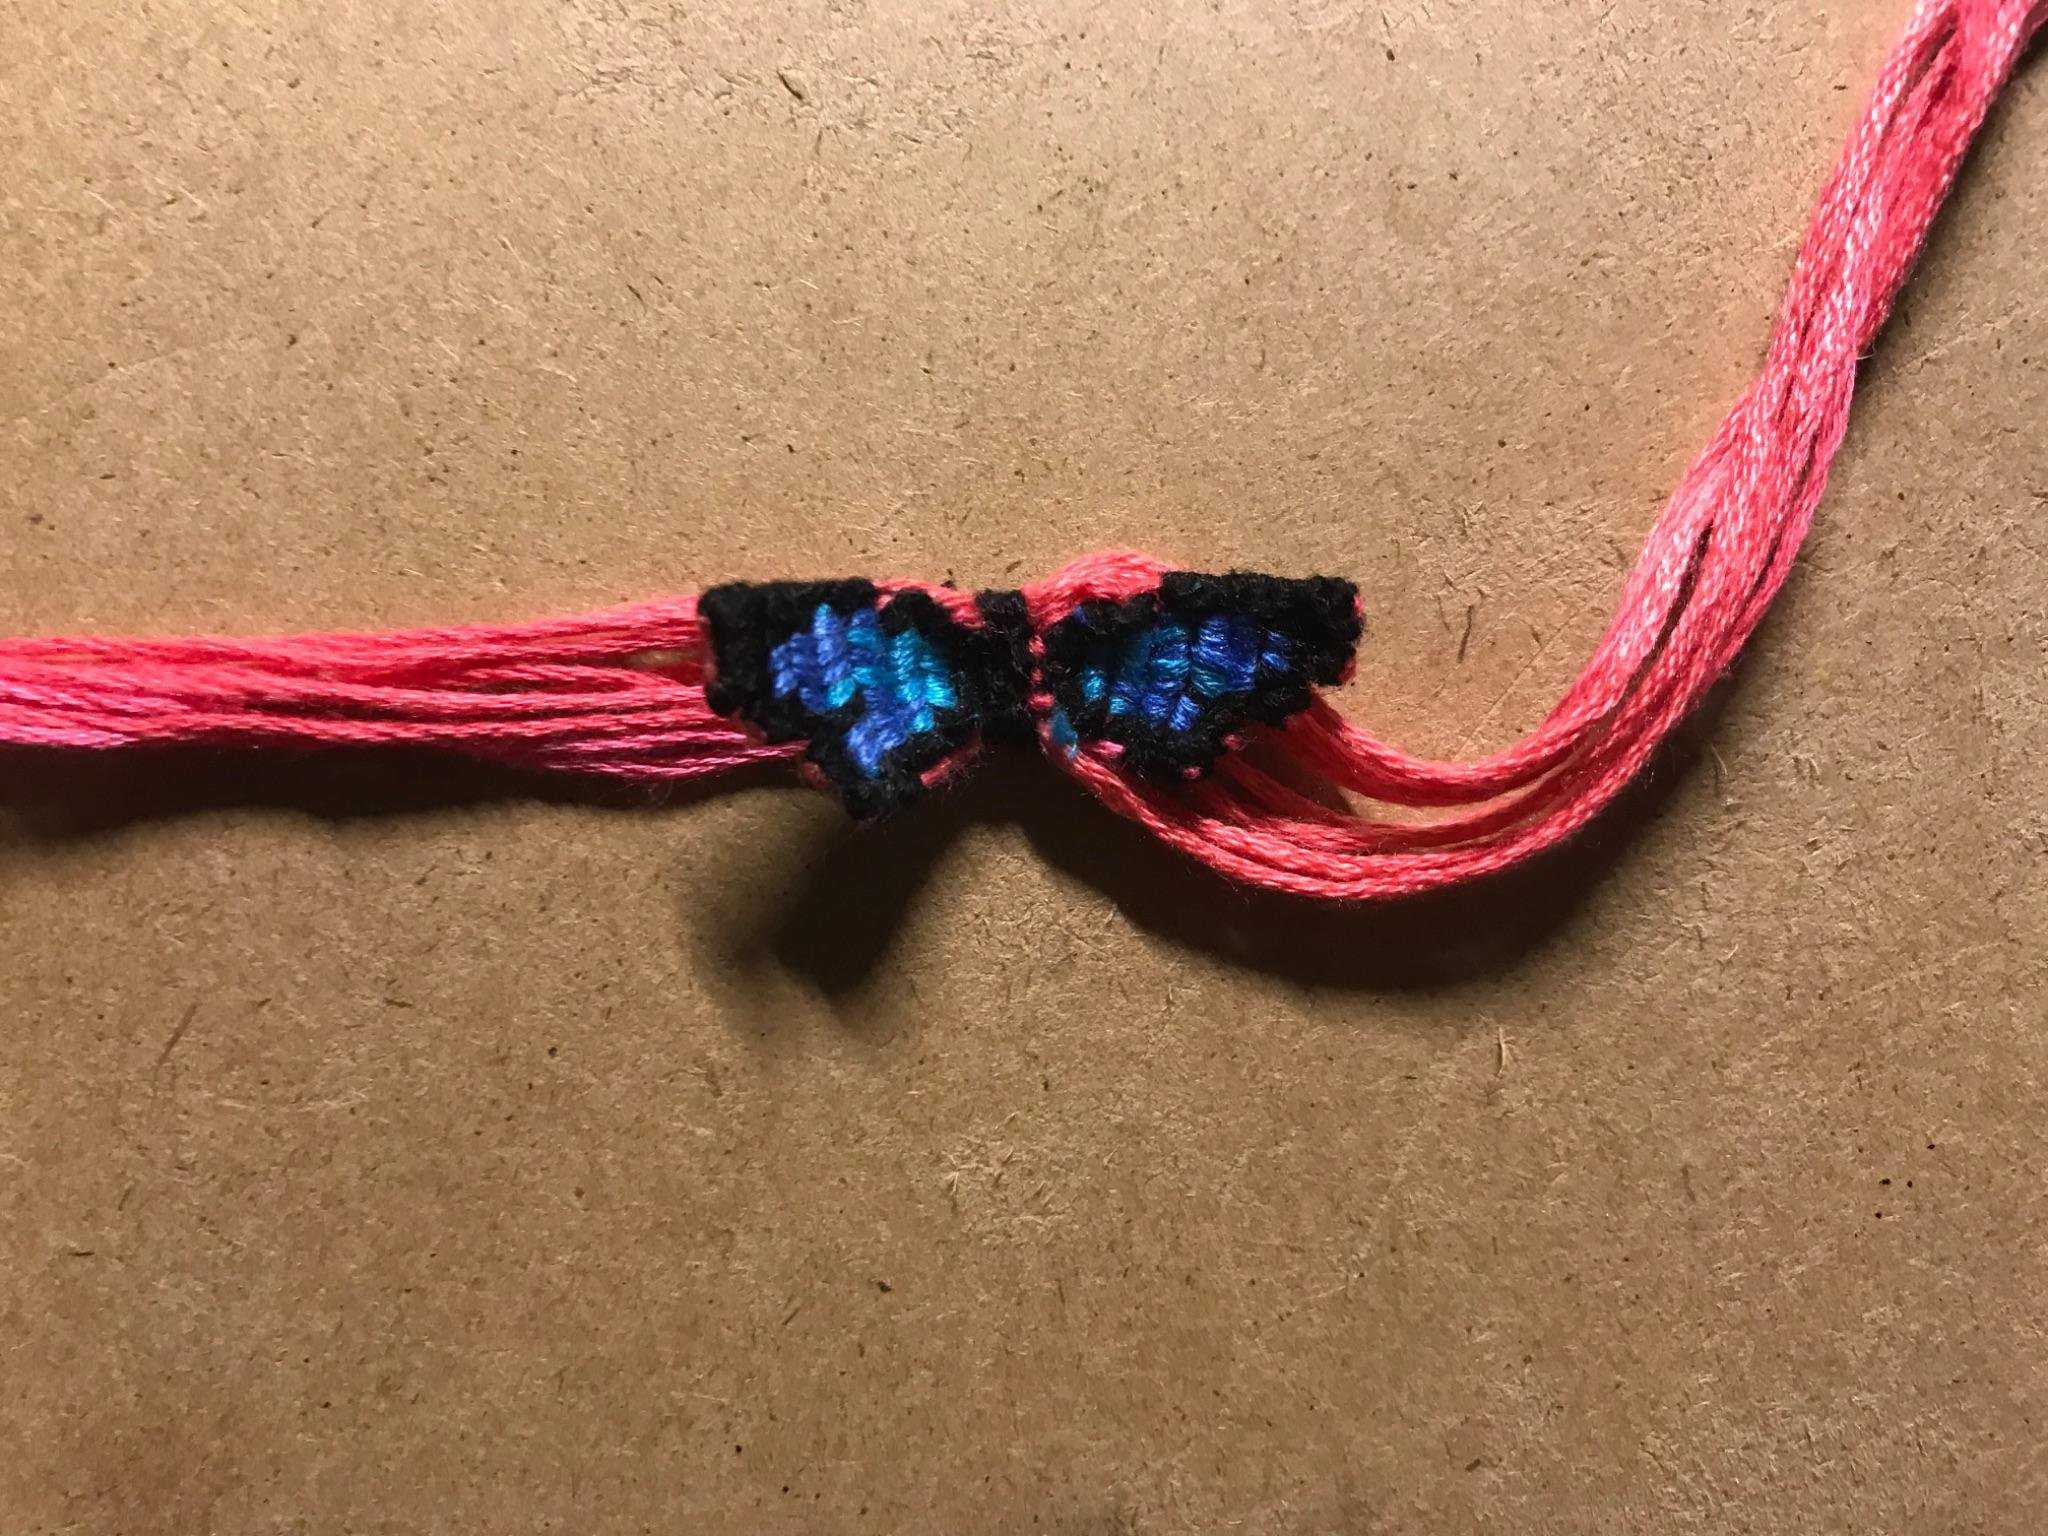
Step 15:
On the top, there will be a group of 8 strings, 4 from each side. In the second row, there will be 2, one from each side. The third row will have 2 and the 4th row will have 8. Separate your strings into those groups. Whichever side has the longer black string, that’s the one you’re going to use. You can cut off the black on the other wing.
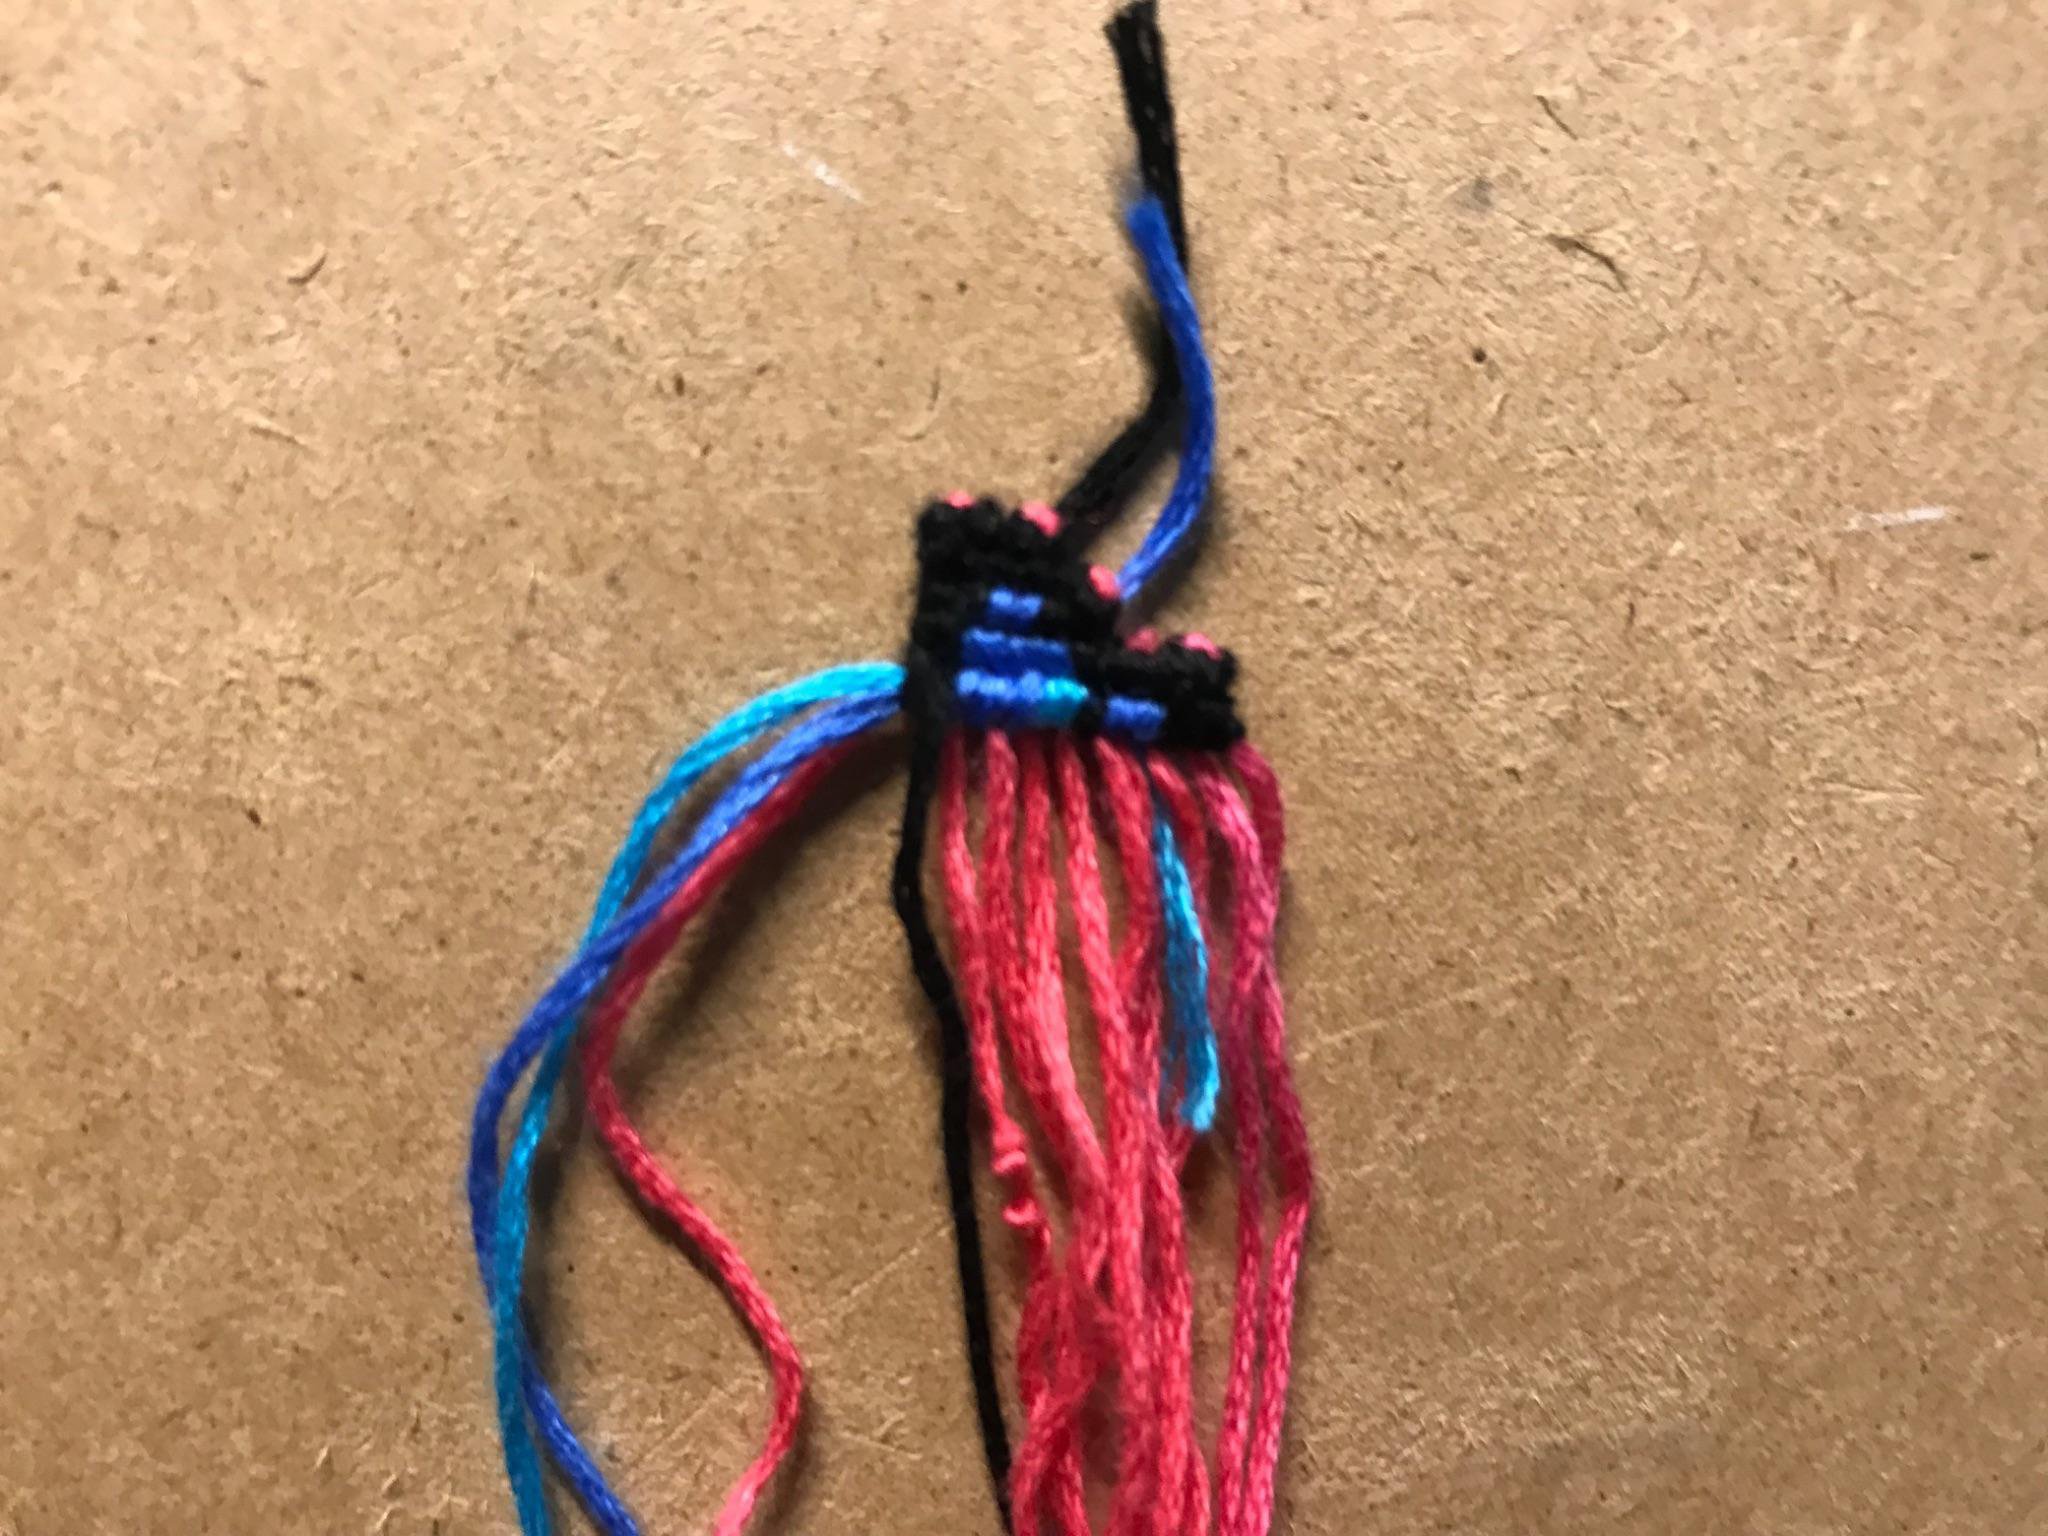
Step 16:
This step will be a little tricky. Take the black leading string and tie 4 forward knots/backward knots on the bundles. One for the first group of 8, one for the second group of 2, etc. If you used the straight edge technique, do 2 forward-backward/backward-forward knots at the ends, and 2 forward/backward knots in the middle.
Tips:
- Clip or tape the wing the black string is on to your workspace.
- Make sure the base strings of the wing without the black leading string are under the base strings of the wing with the black leading string.
- If you want it to be extra secure, you can do 2 rows if you want.
Tips:
- Clip or tape the wing the black string is on to your workspace.
- Make sure the base strings of the wing without the black leading string are under the base strings of the wing with the black leading string.
- If you want it to be extra secure, you can do 2 rows if you want.
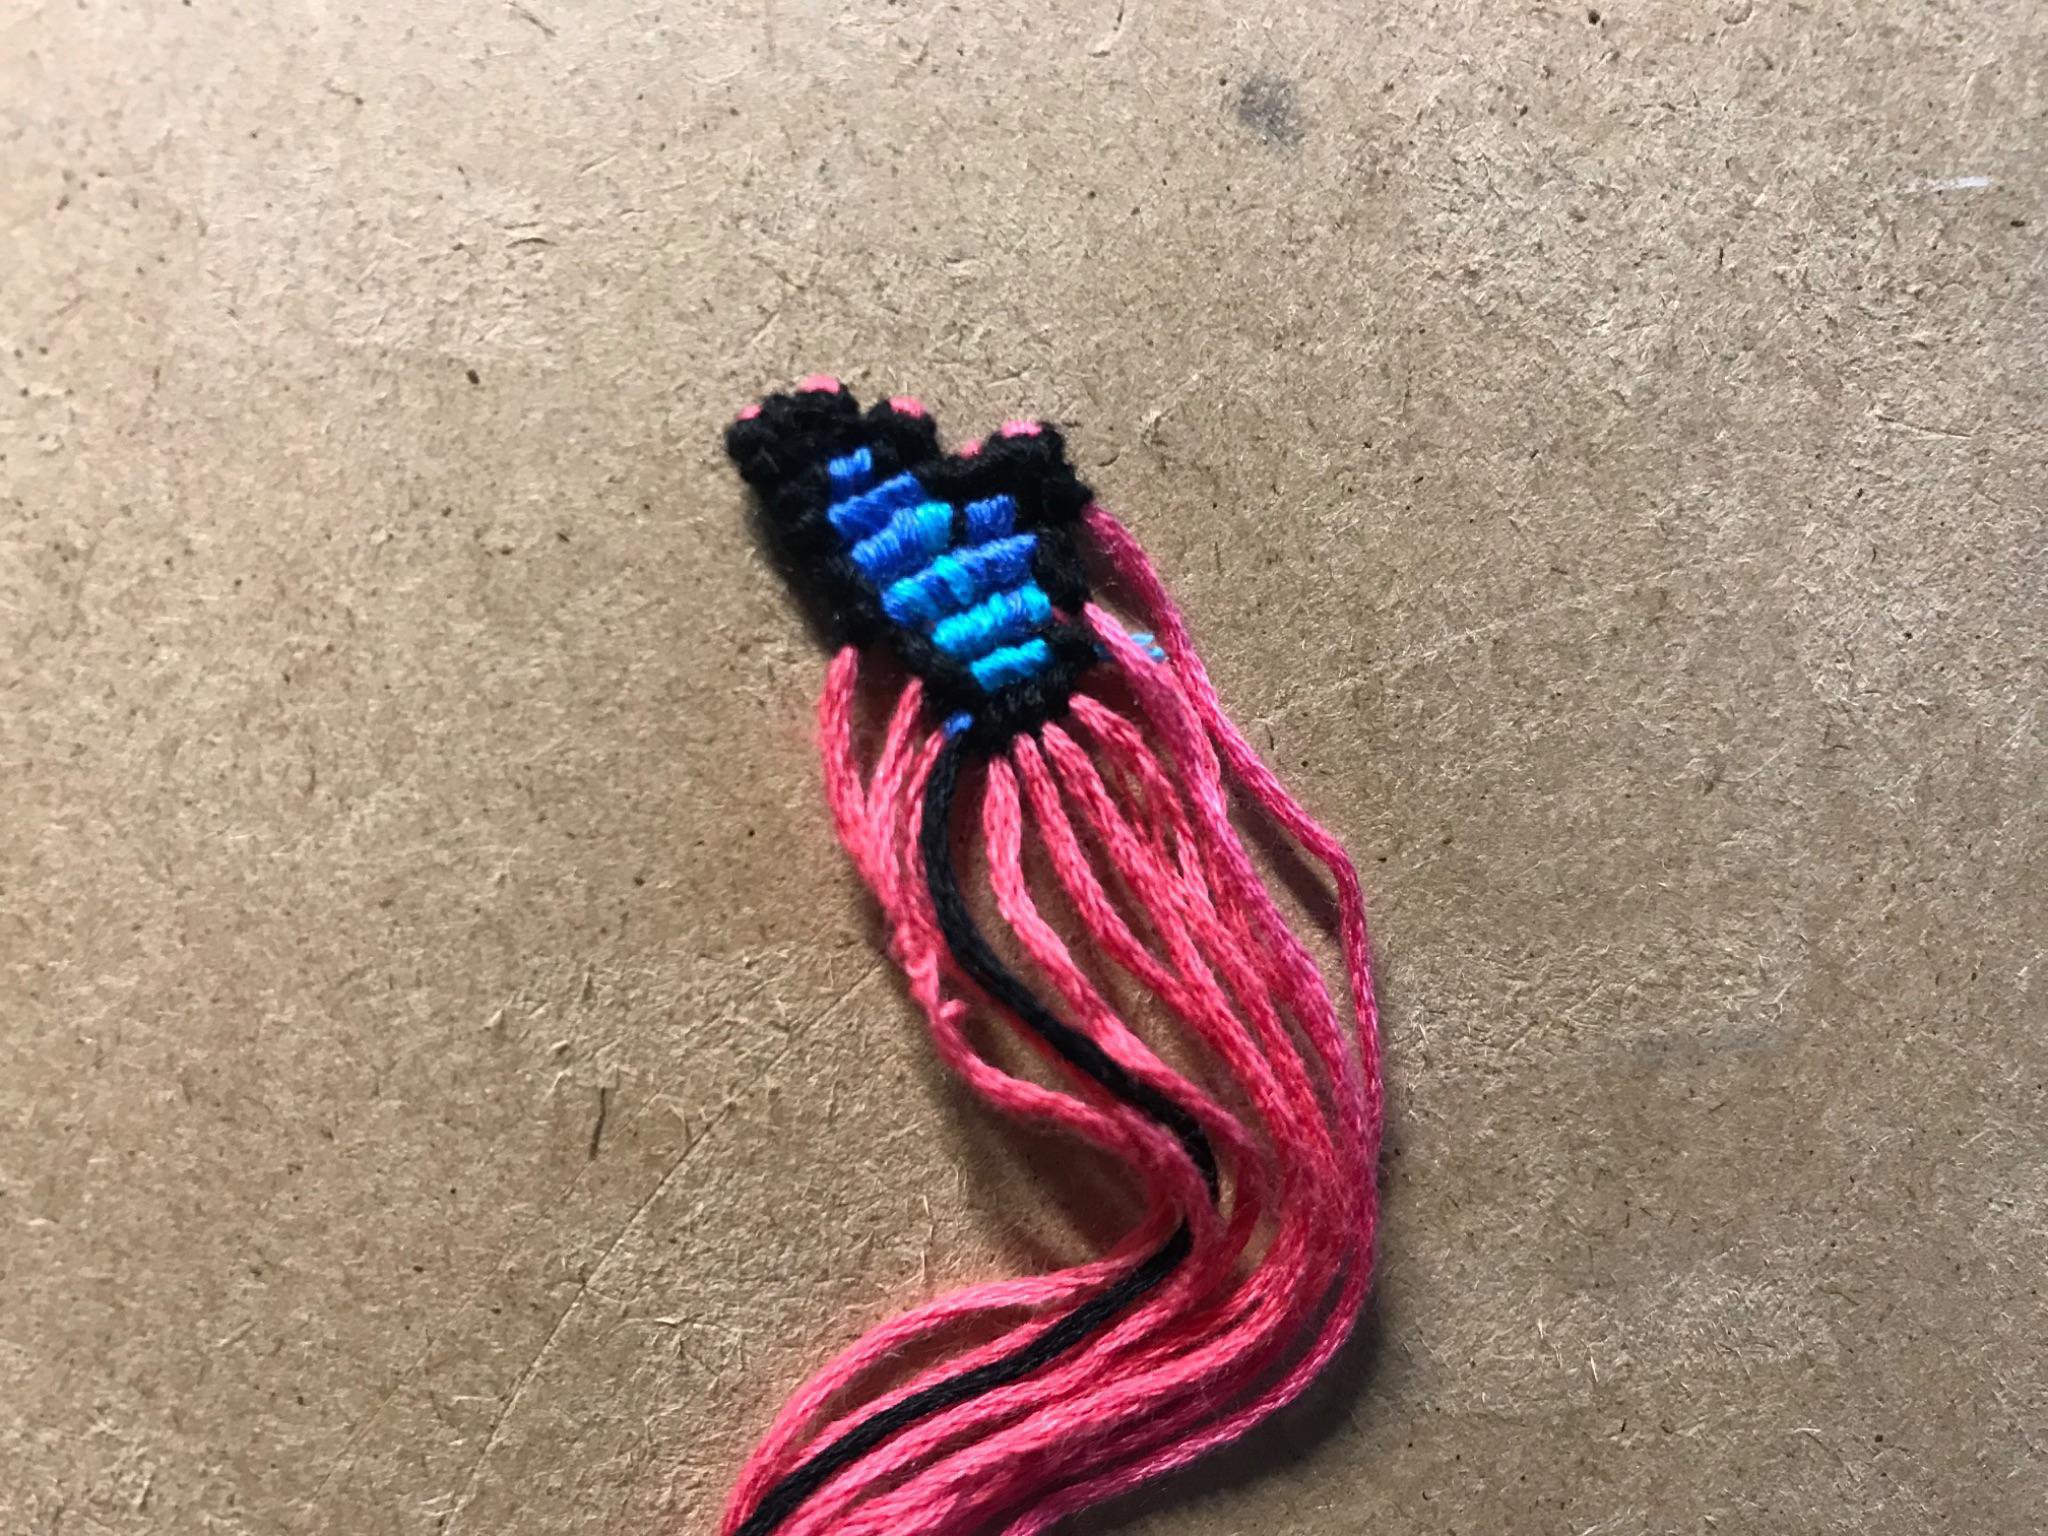
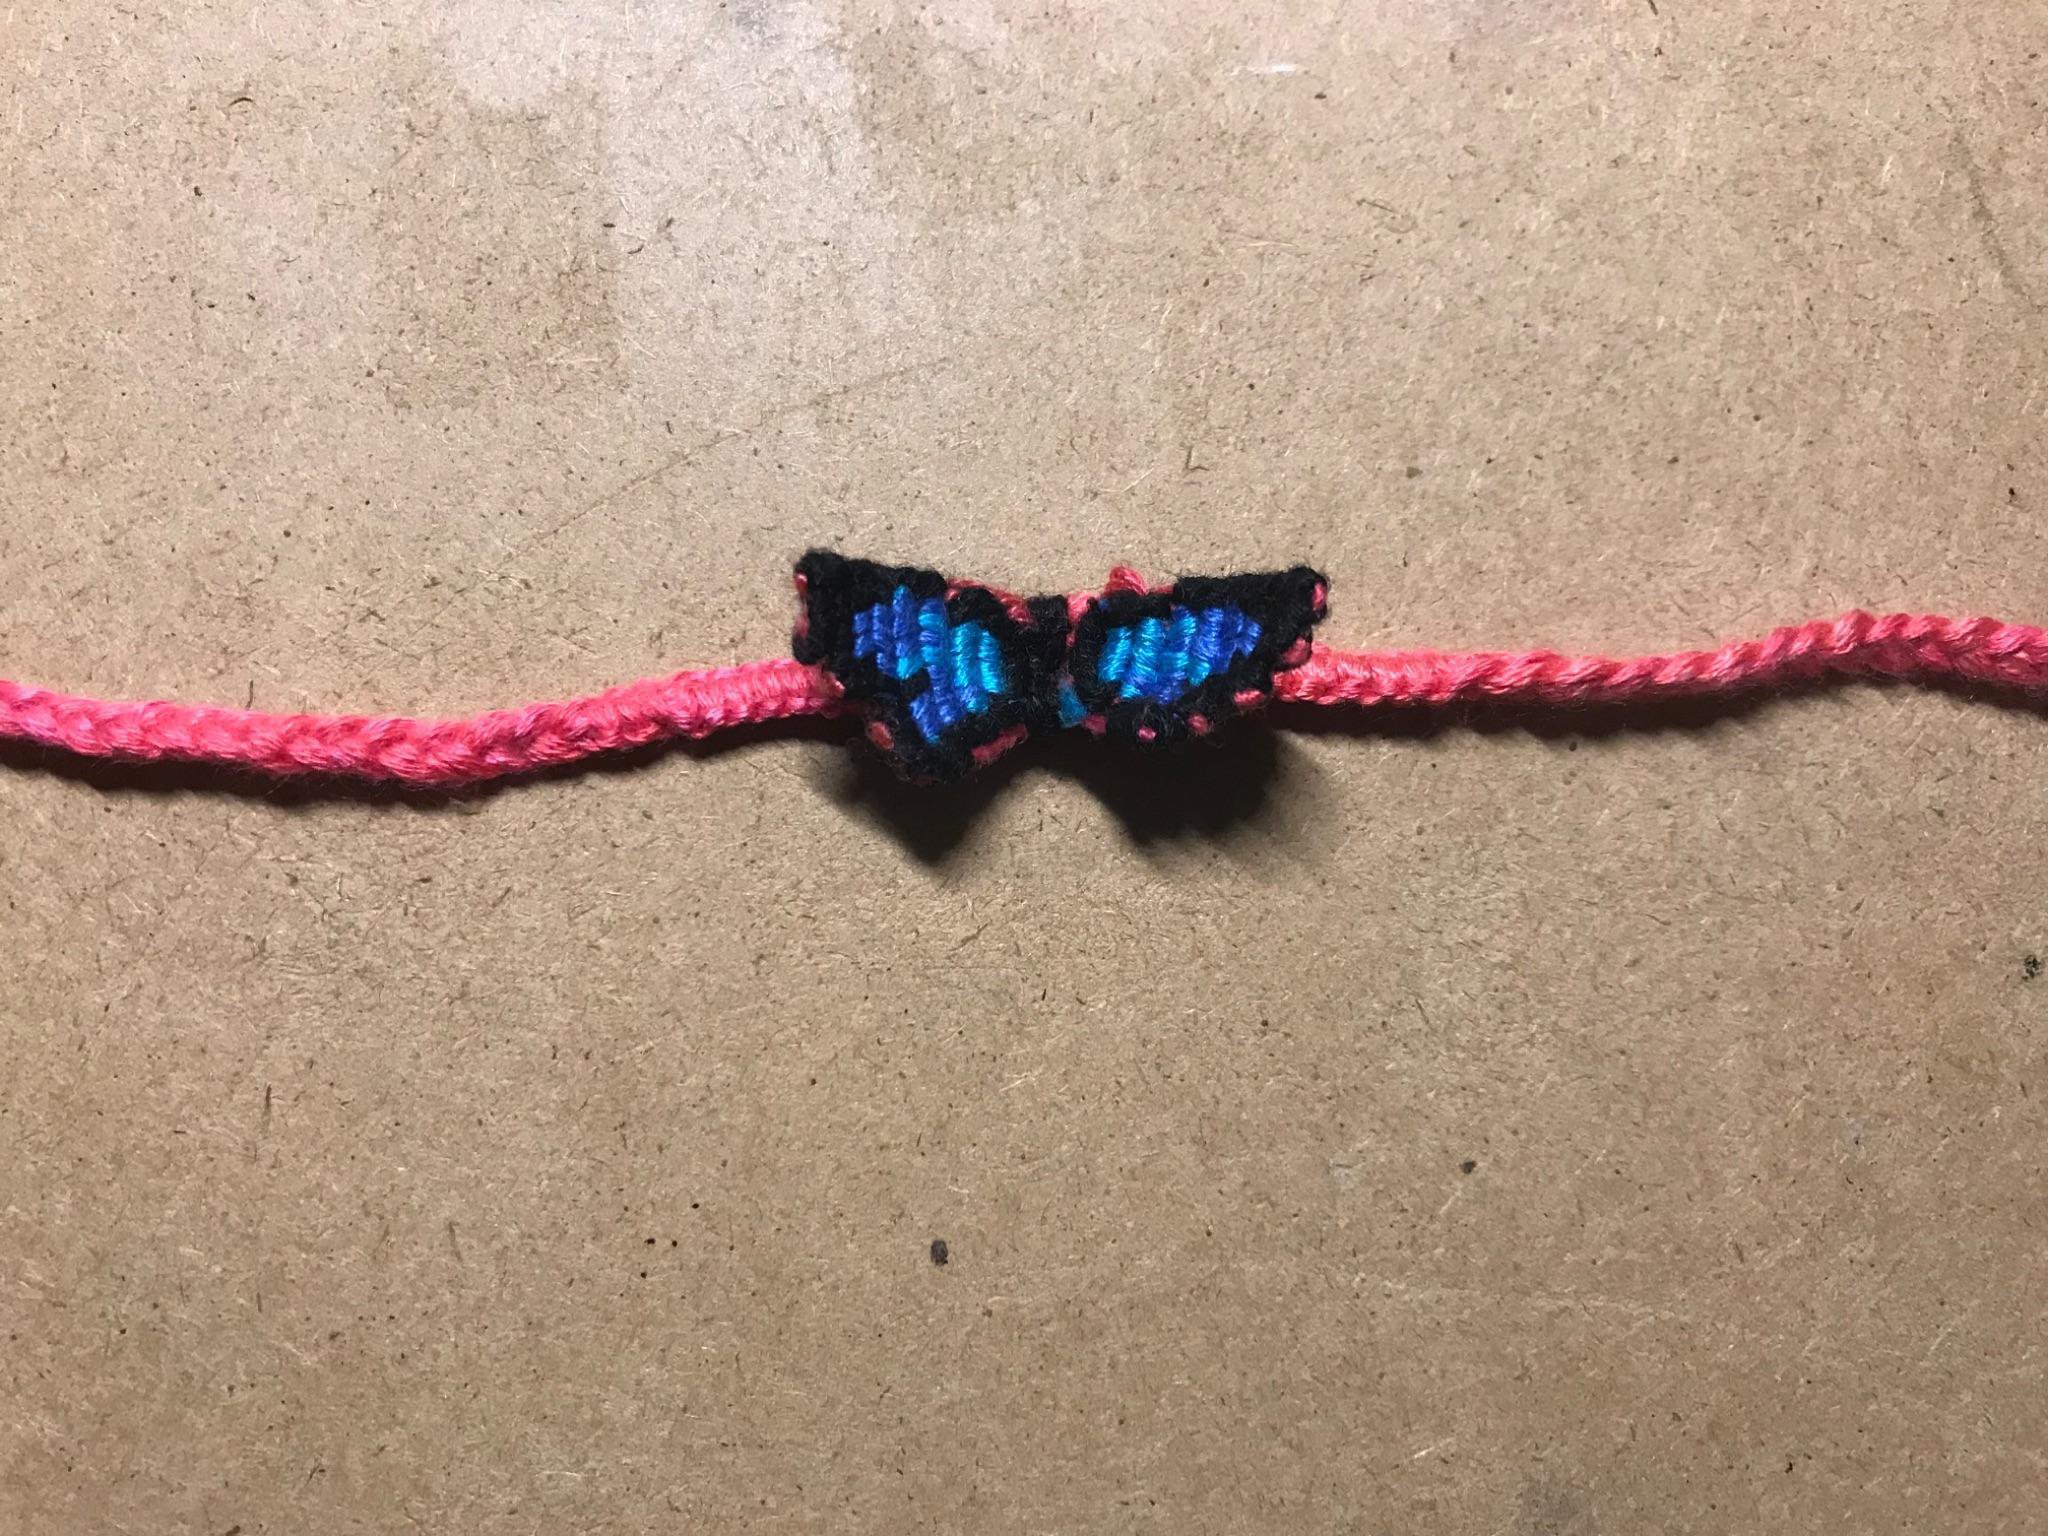
Step 17:
Now take the base strings on each side and pull them to bring the wings together (right=left, left=right). The butterfly will naturally curl up. You can also cut the black string (not too close though or the knots will get loose!).
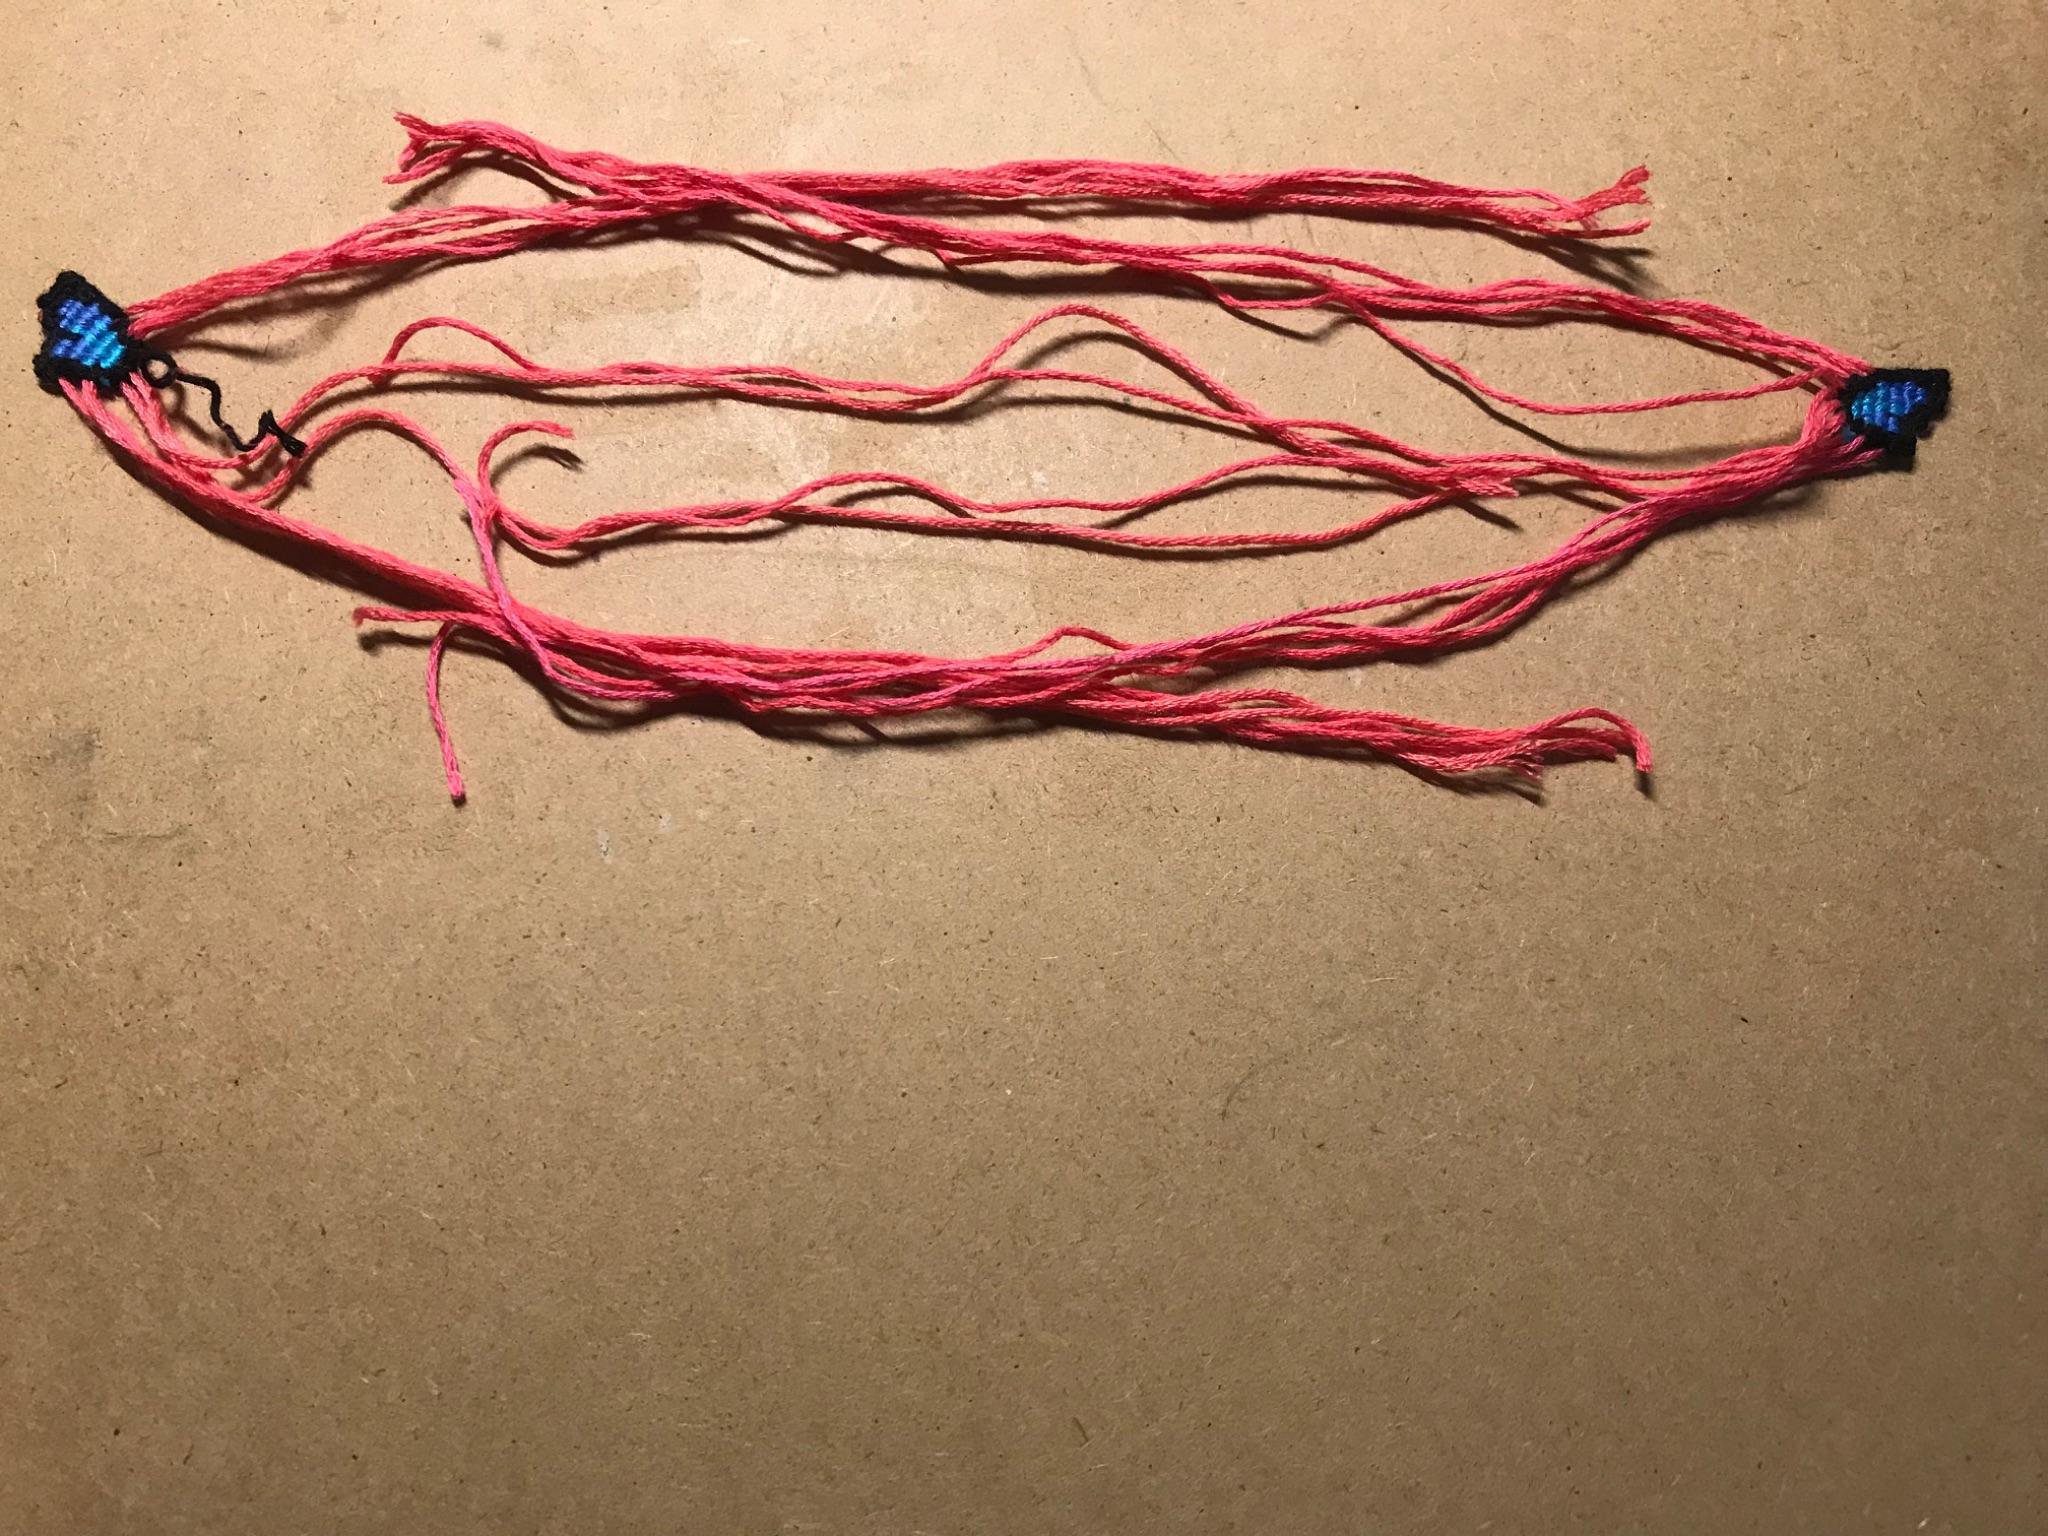
Step 18:
Now finish off each side of the bracelet with whatever you want! You can do square knots, tie and alpha pattern, add more strings and do a normal, the possibilities are endless!
I hope you enjoyed this tutorial and found it helpful! If you have any questions, leave a comment down below or message me or @goldflower. Happy knotting! 🦋