Rate Tutorial
Beaded bracelets are super fun and easy to make. You can experiment with all types of beads mixing them, adding charms, putting them in friendship bracelets etc. To find beads look at your local dollar stores, walmart, amazon, michaels, craft stores, etc. There are many different types of beads: seed beads, pony beads, perler beads, pearl beads, healing stone beads, crystal beads, rounded beads, sea shell beads, etc. If you don't want to use elastic cording because it can break if stretched too much you can use normal embroidery thread as well.

What you will need
Elastic cording (found on amazon, at craft stores and some dollar stores, beads, charms (if wanted), a needle is not necessary but will be extremely helpful; it should be able to go through all the beads you are using. You can buy these pads off of amazon which keep your beads from falling off a table or a container to store the beads in.

Step 1
To start you will need to cut the elastic cording 2 times the length your bracelet will be and make sure there's a little extra. Take a bead that is not smaller than any of the beads you will use and tie it on the end of the elastic cording and make a double knot (you will be able to undo it later).
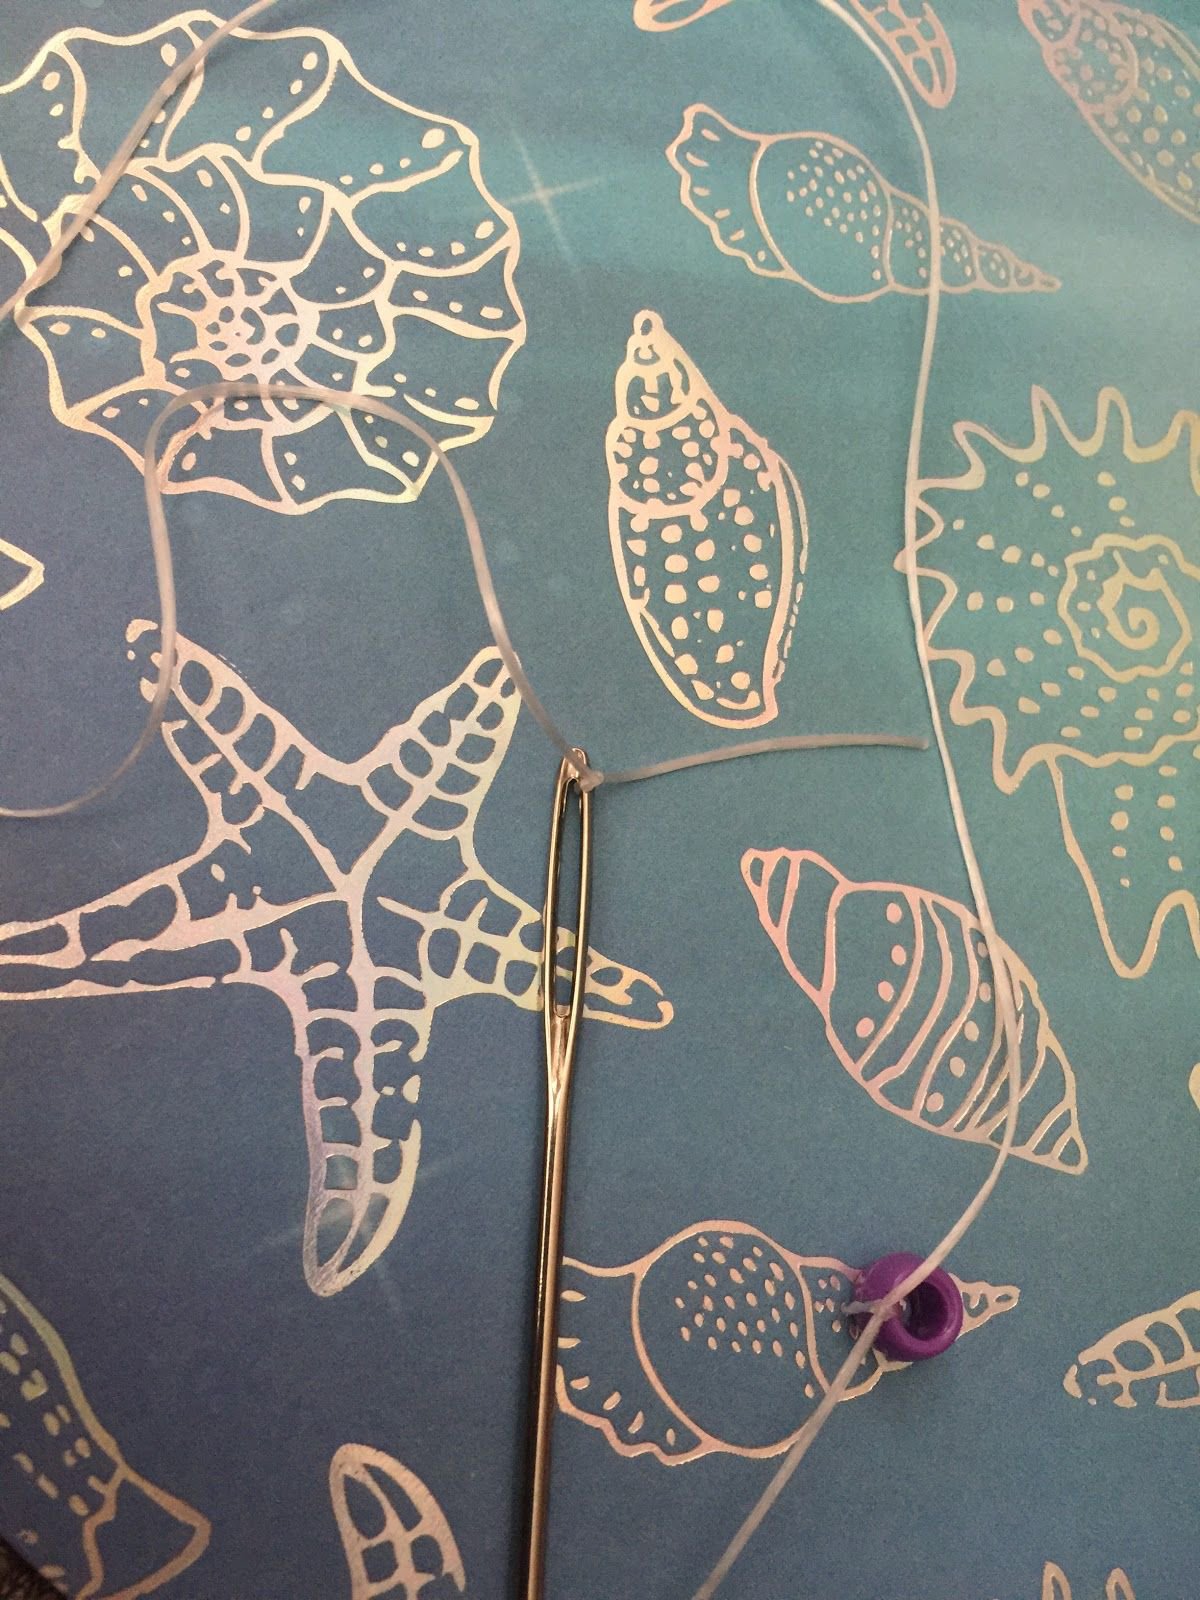
Step 2
At this time you can attach the other end of the elastic cord if you want, to a needle which will help with sliding on the beads. If you don’t have a needle or are not using it that's fine.
Step 3
Slide all of the beads onto the elastic that you wish to add. I do not make my beaded bracelets the length of my wrist because the elastic stretches and so even a small beaded bracelet will fit on a larger wrist only the bottom of the wrist won't have any beads. If you want to make a longer beaded bracelet it is up to you.

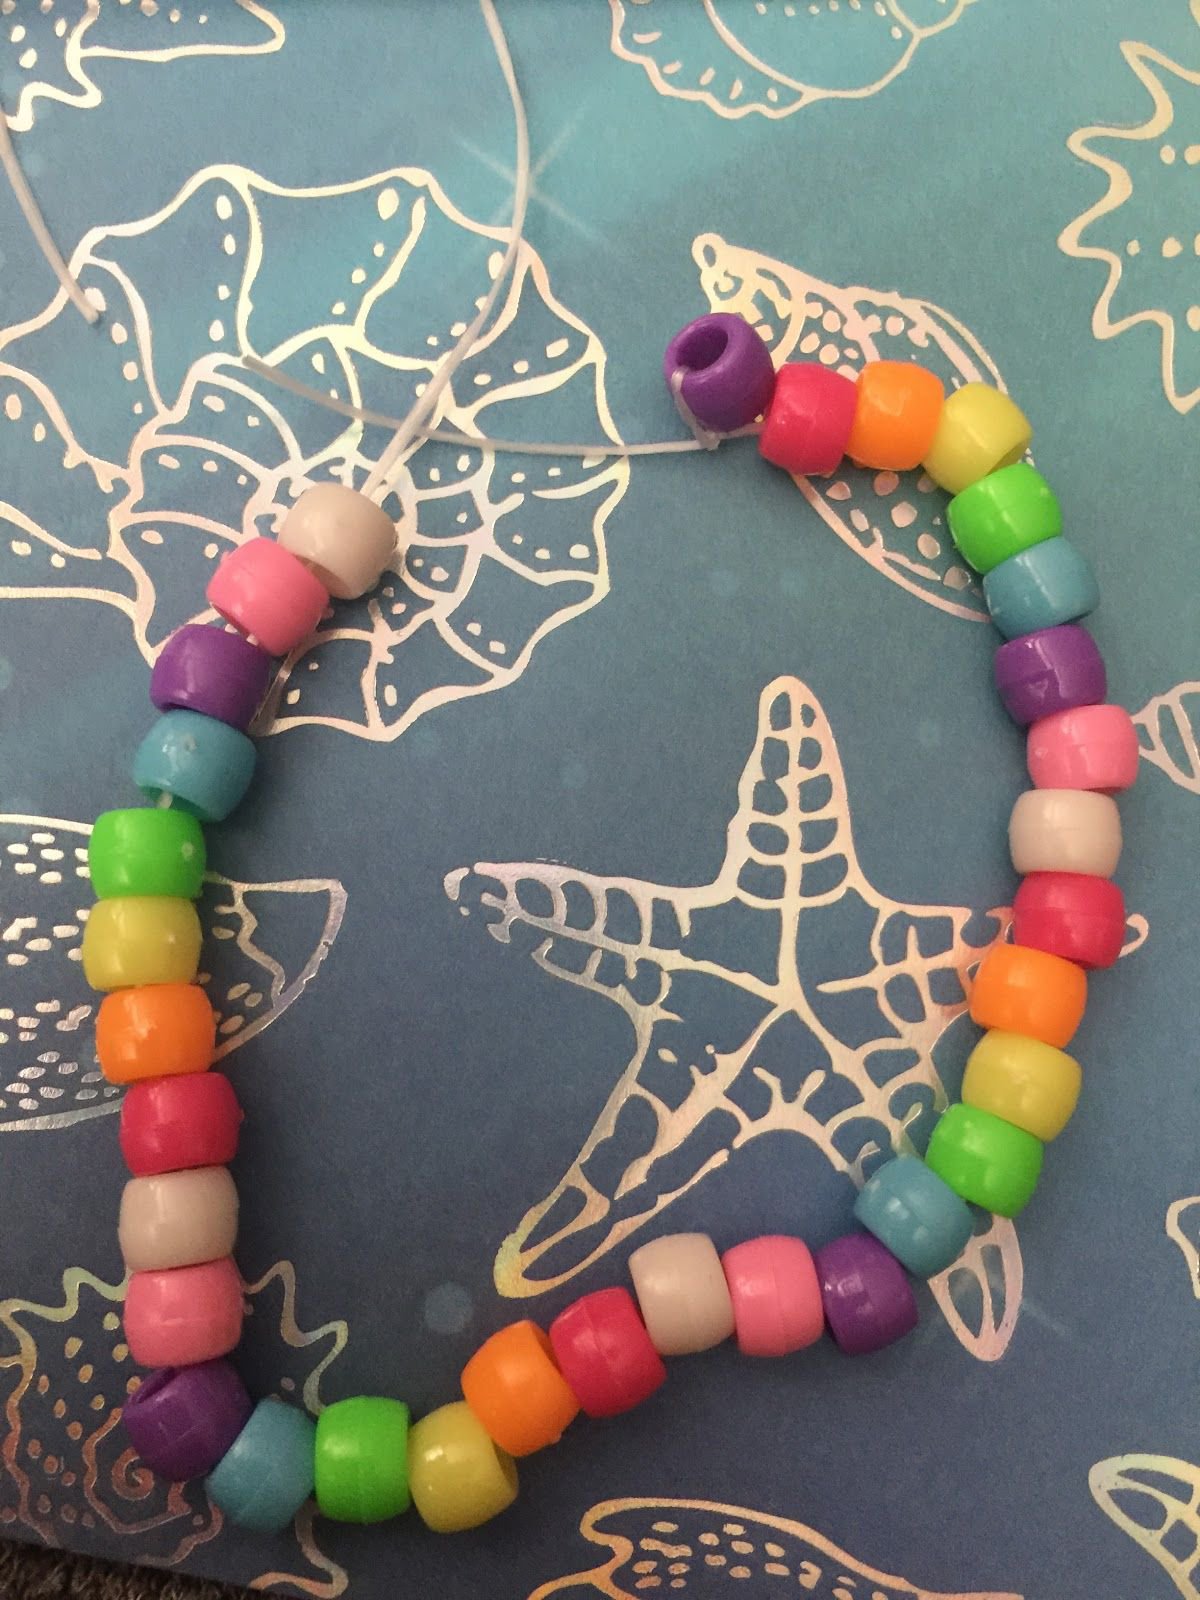
Step 4
Before you continue make sure that you won't want to add any more beads. You will now need to string the elastic through the beads once more to secure the beads. The needle will be helpful for this as you will only need to string the needle with the elastic on it through the beads whereas using your fingers to string the elastic is much harder.
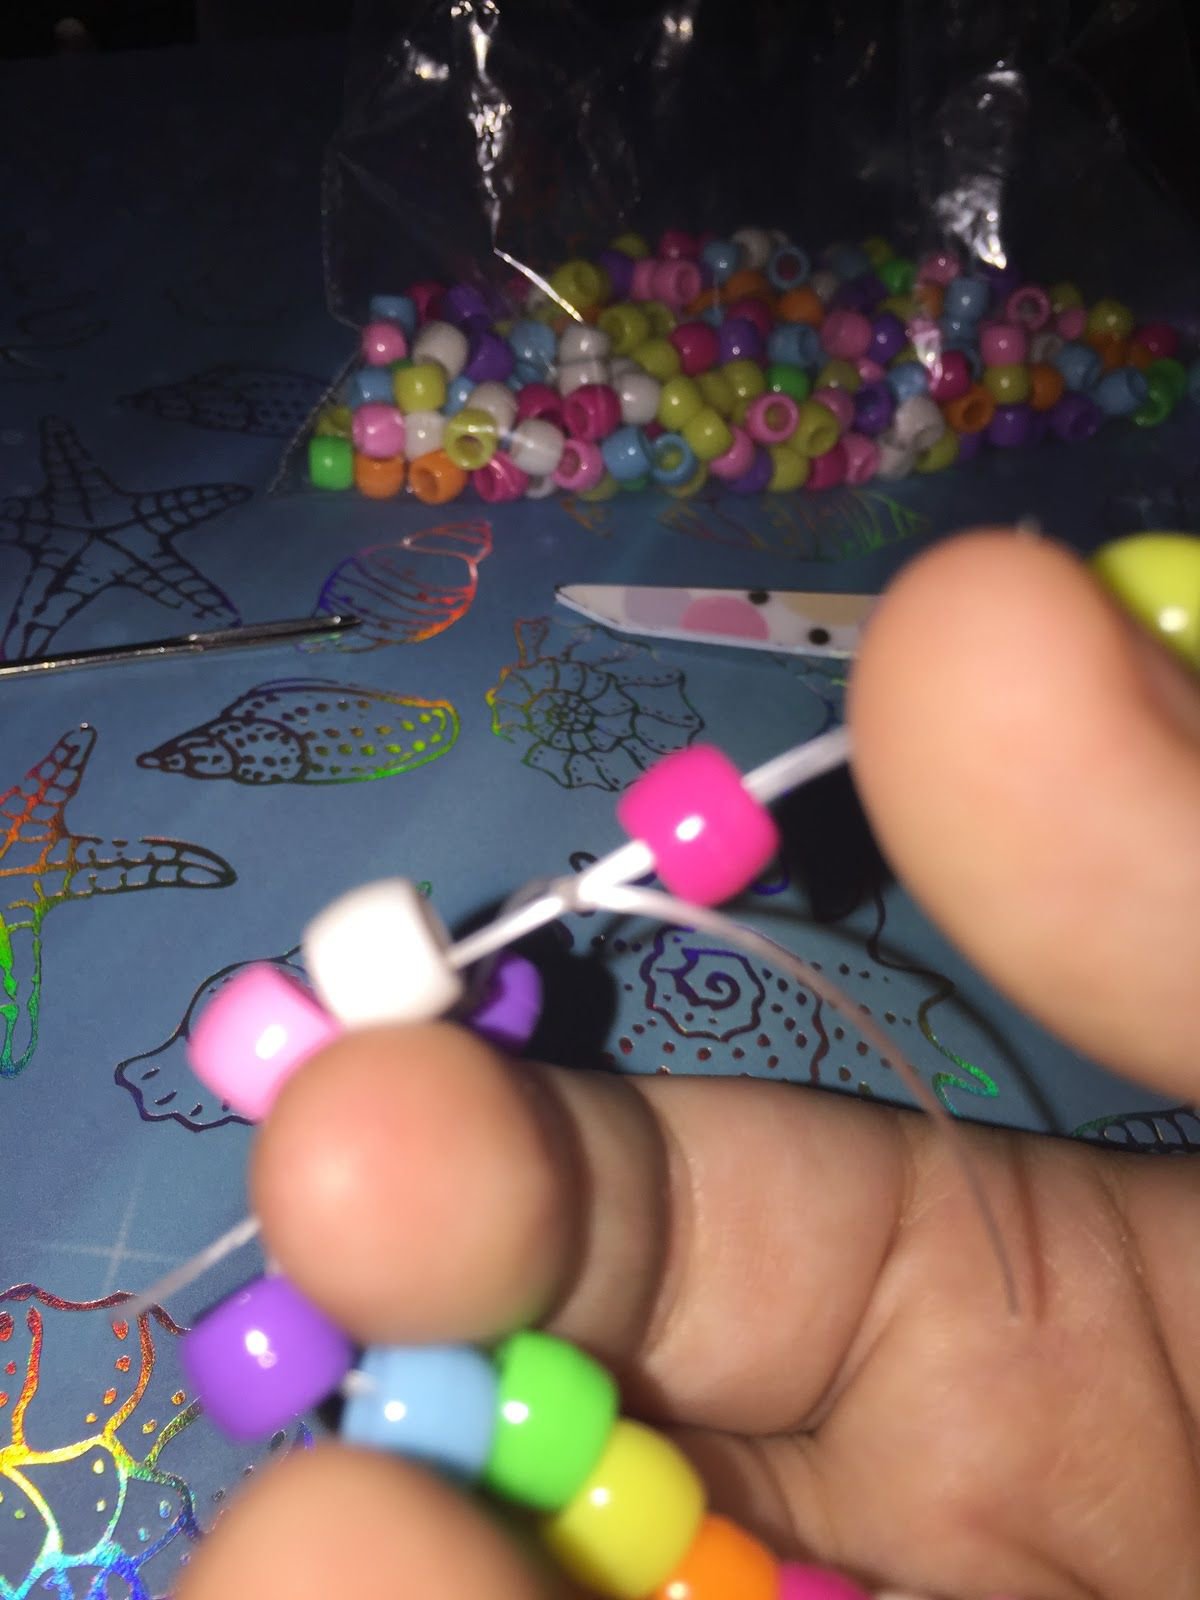
Step 5
You will need to now make a knot but make sure the elastic is as tight as it can be as it will stretch and if you do not tighten it as this point it most likely will fall apart.
Step 6
Once you have done the first knot you will need to take one of the ends and go under the 2 elastic strings that went through the beads and then make another knot. This will ensure the knot will not come undone. I then like to make one more knot with the two ends.
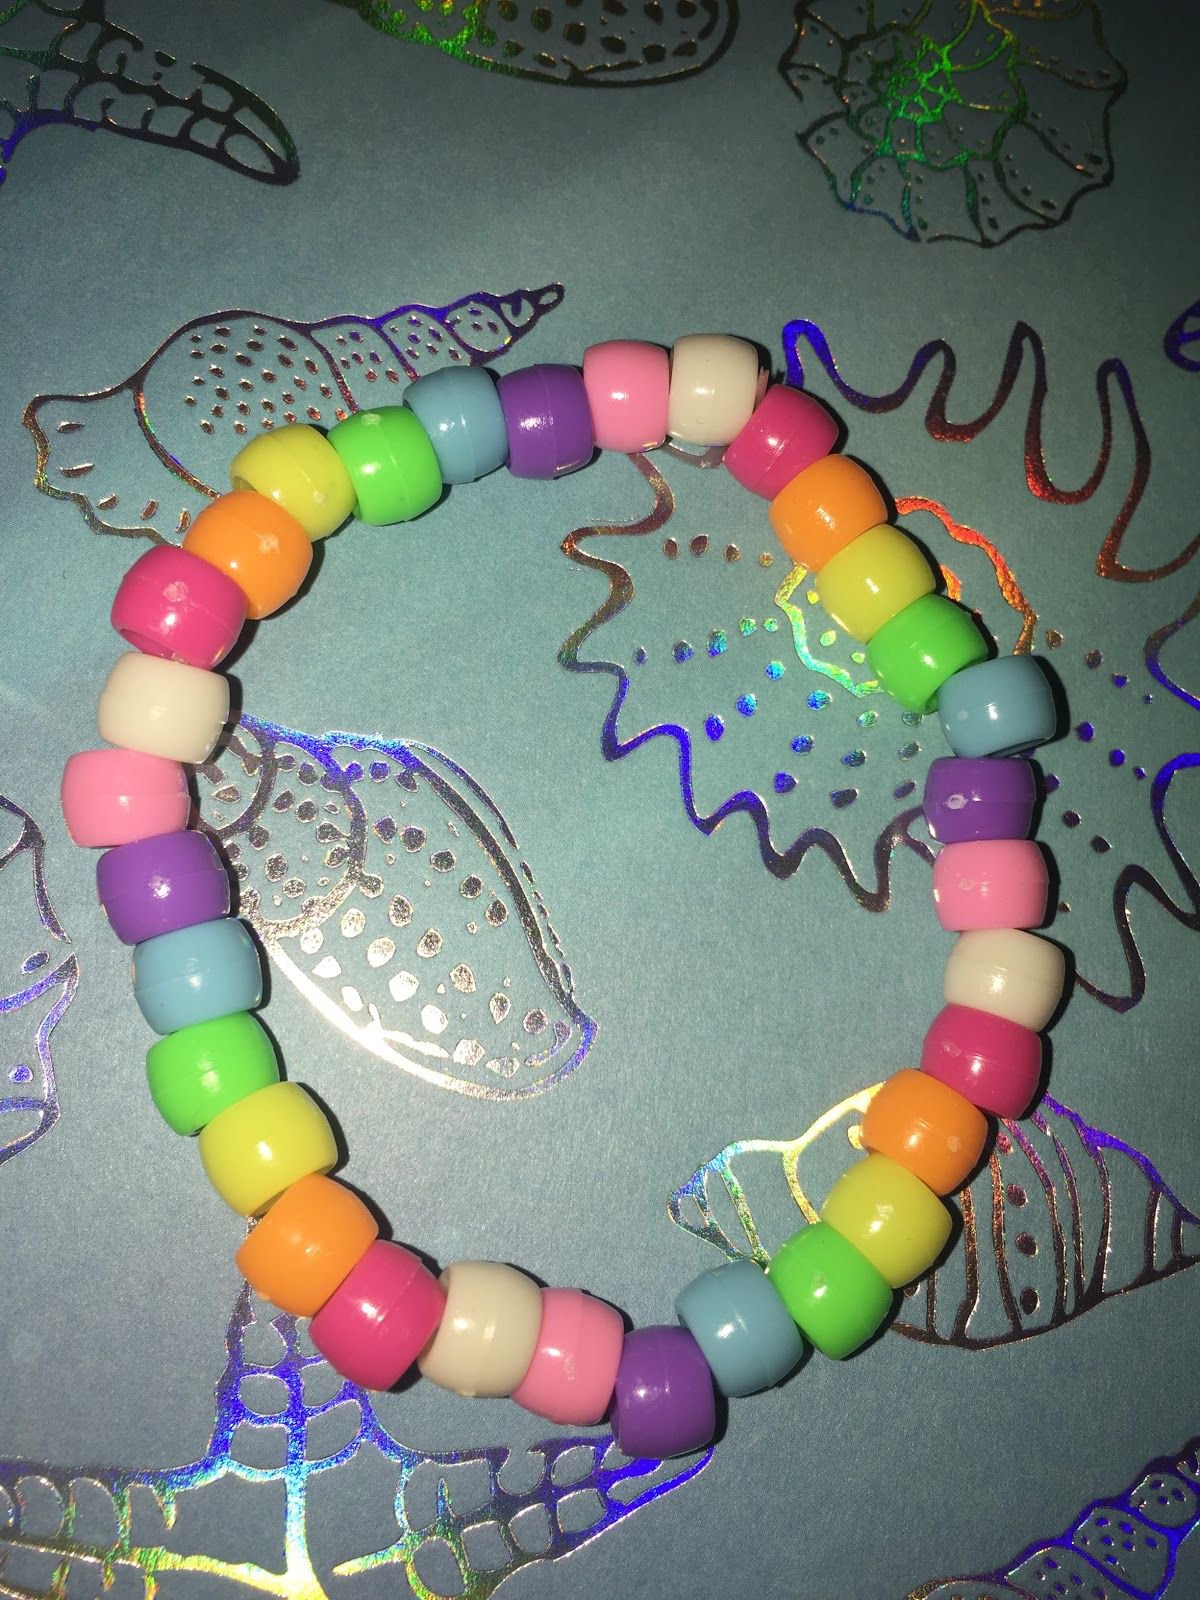
Step 7
Now you can cut off the extra elastic on the ends and remove the bead we added at first to keep the other beads from falling off. On the left is the result of my bracelet.
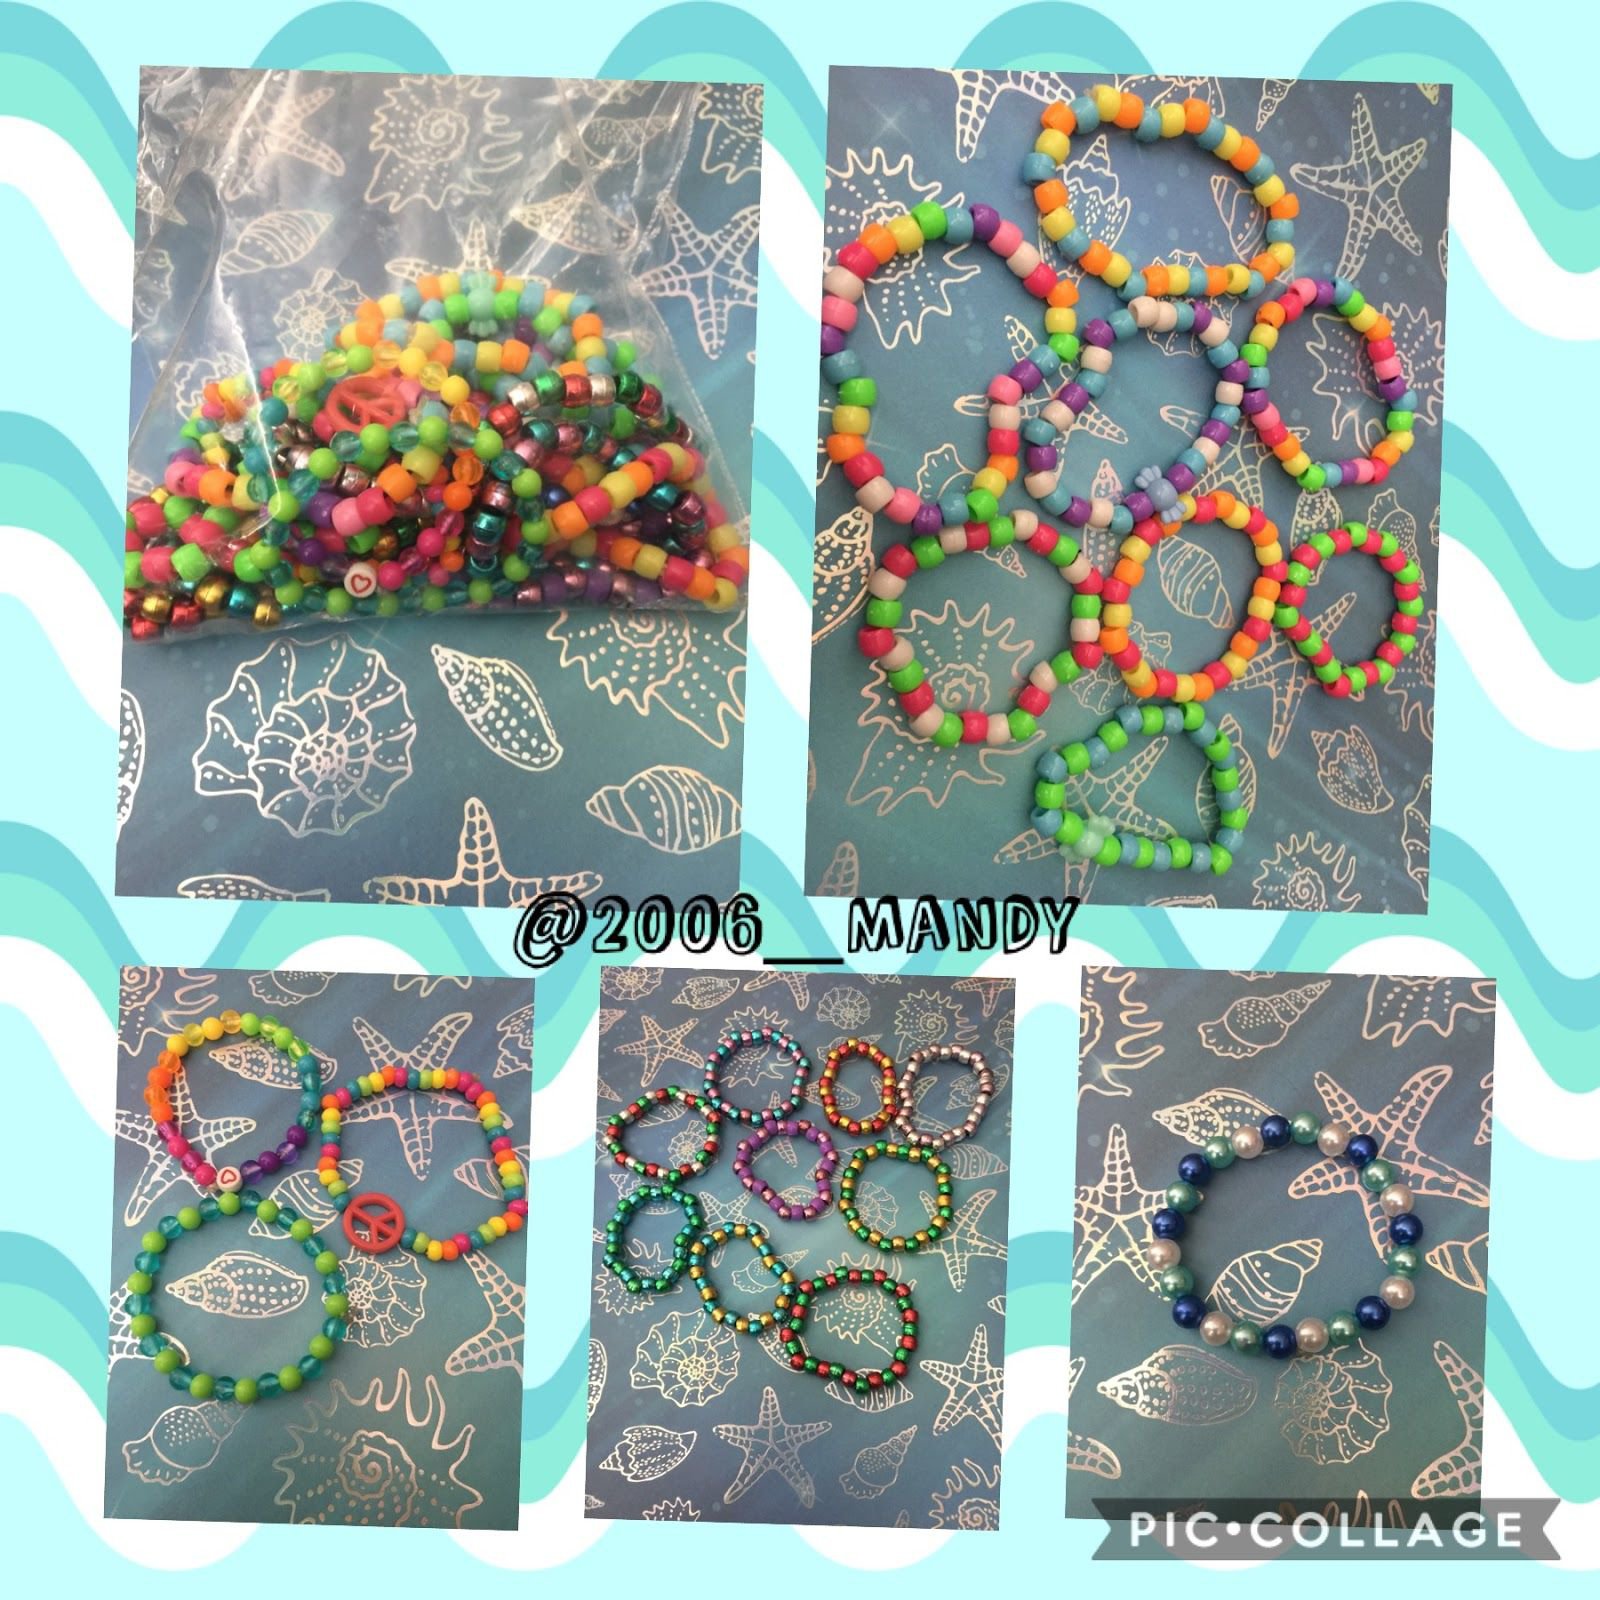
Ideas
All of these beaded bracelets were made by me and I hope they inspire you. You can mix and match the beads and the colours and really get a varied mixture of different bracelets unique to you. There are likely hundreds of different beads for you to experiment with. Although they may not be friendship bracelets they go well with them and are super easy/fast to make. If you want to post pictures of them on braceletbook my suggestion would be to pair them with friendship bracelets when you post them on braceletbook since beaded bracelets have no patterns. You can also add beads to friendship bracelets if these elastic ones do not appeal to you.
I hope this helps some of you with making these bracelets. Also I did not use a tutorial when I learned how to make these. I just figured it out on my own using my own knowledge. There are some tutorials on YouTube but not too many and I don’t know if they have the same technique that I use. Anyways feel free to ask any questions in the comments below and I will answer them to my best ability. Have a great day/have fun bracelet making.